Password Filter Installation
The Password Filter Installation has two parts:
Update the Active Directory Schema.
Note
This is only done on one domain controller, and the installer will need to be run with an account that is a member of both the Schema Admins and Domain Admins groups in Active Directory.
Install the agent on each domain controller.
Note
When installing the Password Filter, it will need to be installed on all writable Active Directory domain controllers. After the installer completes on each domain controller, that domain controller will need to be restarted before the changes take effect.
Installation Procedure
Download the Password Filter installer (
adpwfilterx86_64-latest.msi).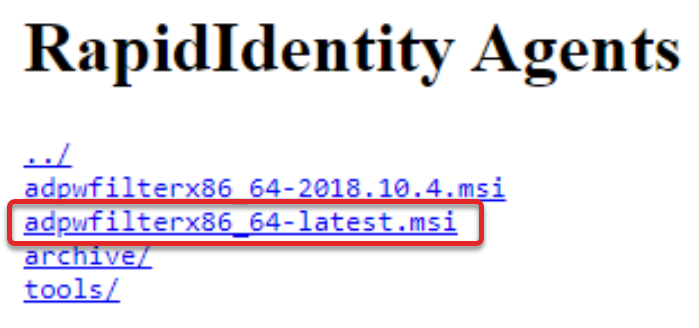
Run the installer as an Administrator.
If you receive a message that Windows protected your PC, click More info.

On the next screen, click Run anyway.

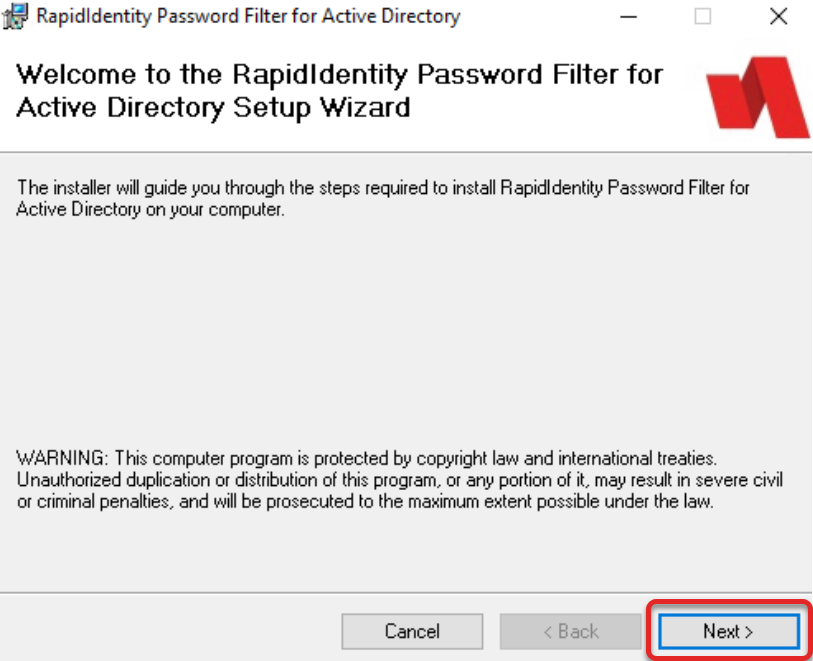
When the installer comes up, click Next.
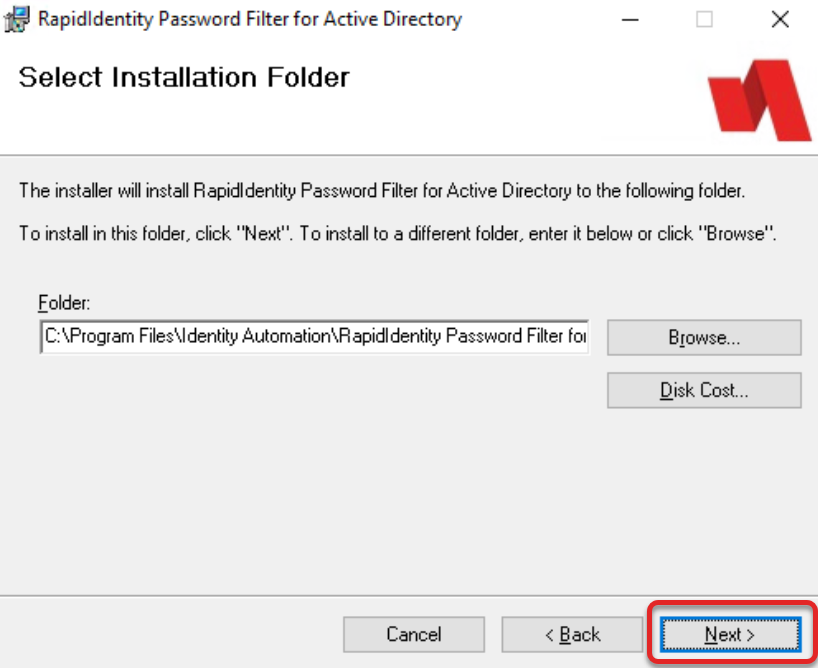
Select the Installation Folder and click Next. Most districts will accept the default location.
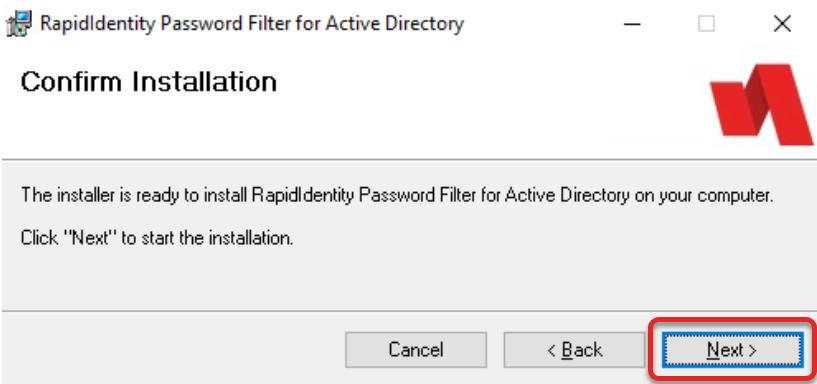
Click Next to confirm the installation.
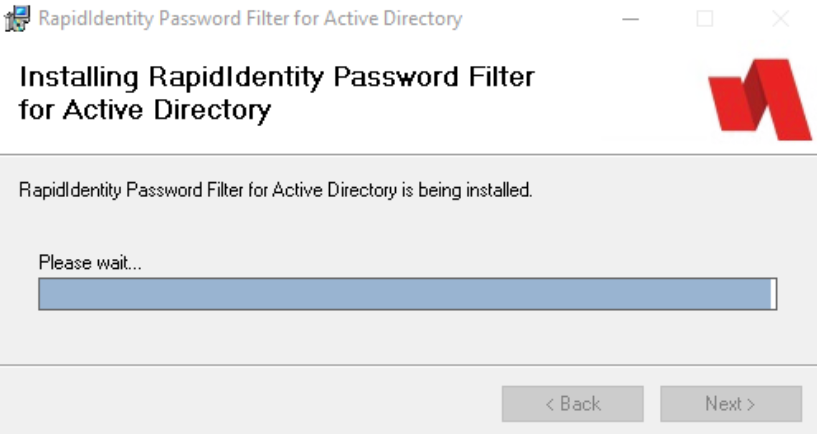
A progress bar will appear and start to complete.
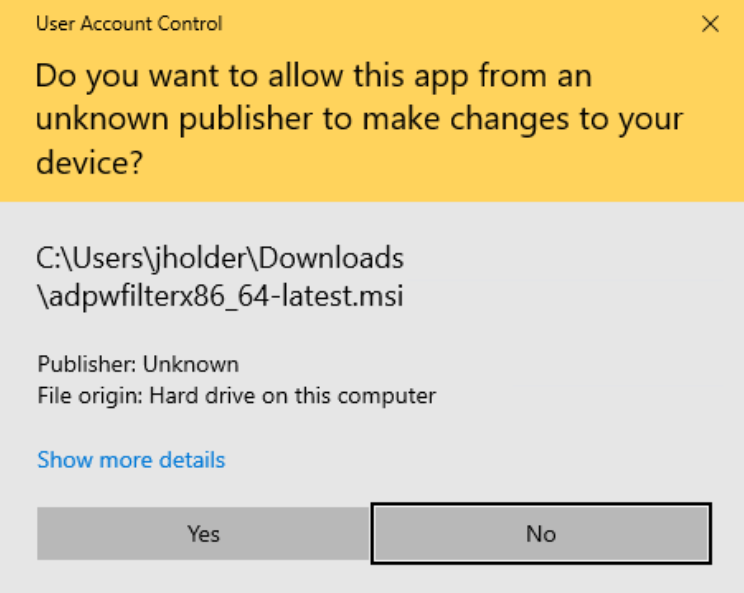
If you receive a message saying "Do you want to allow this app from an unknown publisher to make changes to your device?" click Yes.
On the next screen, click Install Schema.
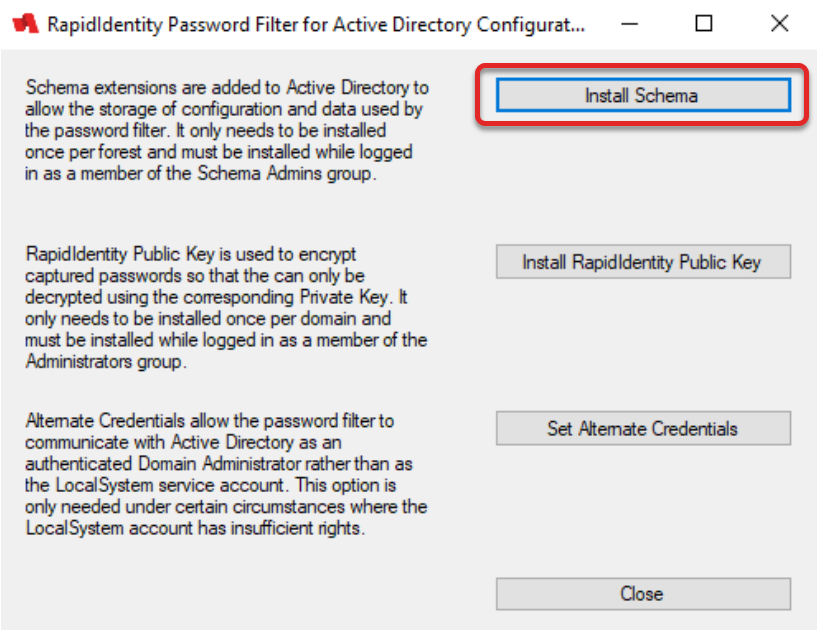
When this completes, it should show Schema extended.

Once the schema has been extended, click Install RapidIdentity Public Key.
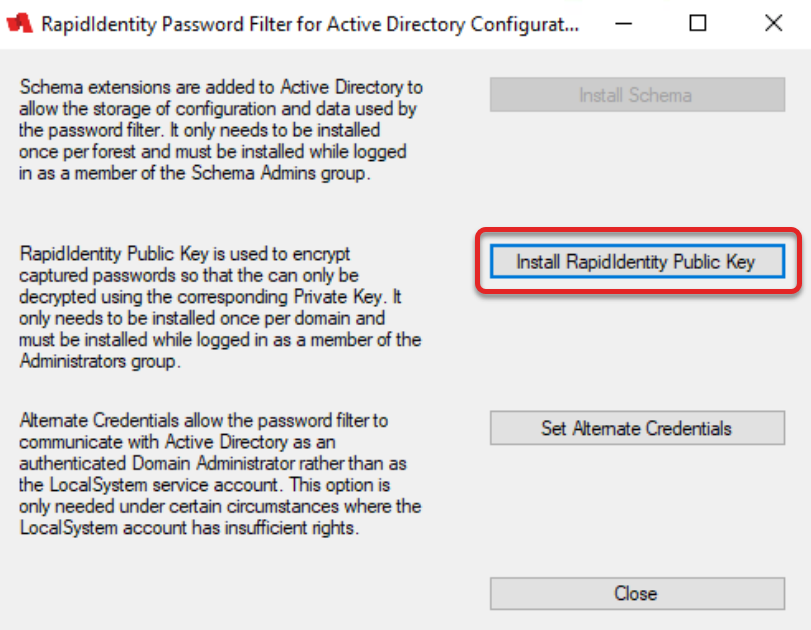
Enter your district's Clever IDM Enterprise tenant URL (e.g.,
https://yourdistrict.rapididentity.com) and click OK.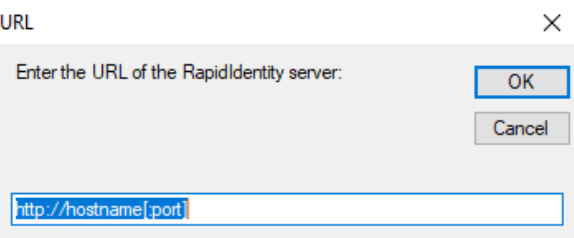
When this process completes, you should see RapidIdentity Public Key Installed.

Click Close to close the RapidIdentity Password Filter for Active Directory configuration. Once you click close, you will be taken back to the main installer and should see a screen that says Installation Complete.
Click Close to close the installer.
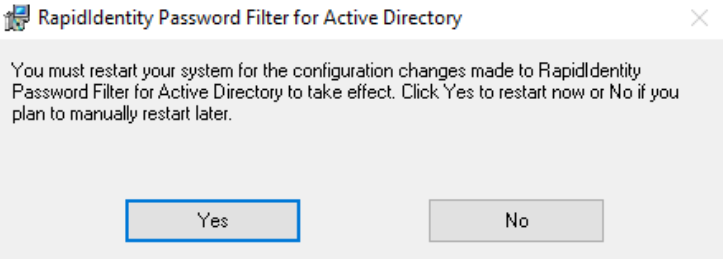
Once the installer is closed, you will receive a message that you must restart your system in order for the changes to take effect. Choose whether to restart now or later.
The installer will need to be run on each domain controller. On subsequent domain controllers, the "Install Schema" button will be greyed out, since it has already been installed.