Azure OAuth 2.0 Setup
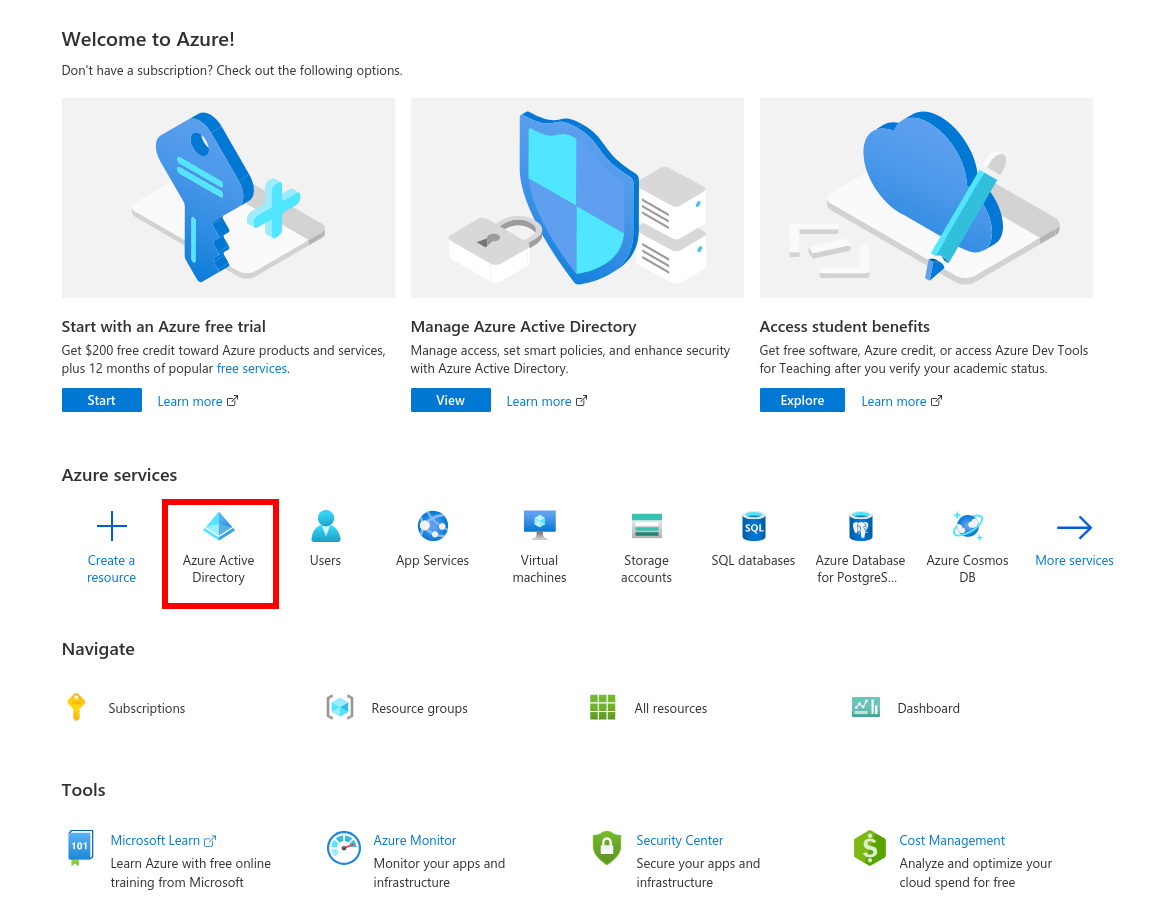
From portal.azure.com, select Azure Active Directory.
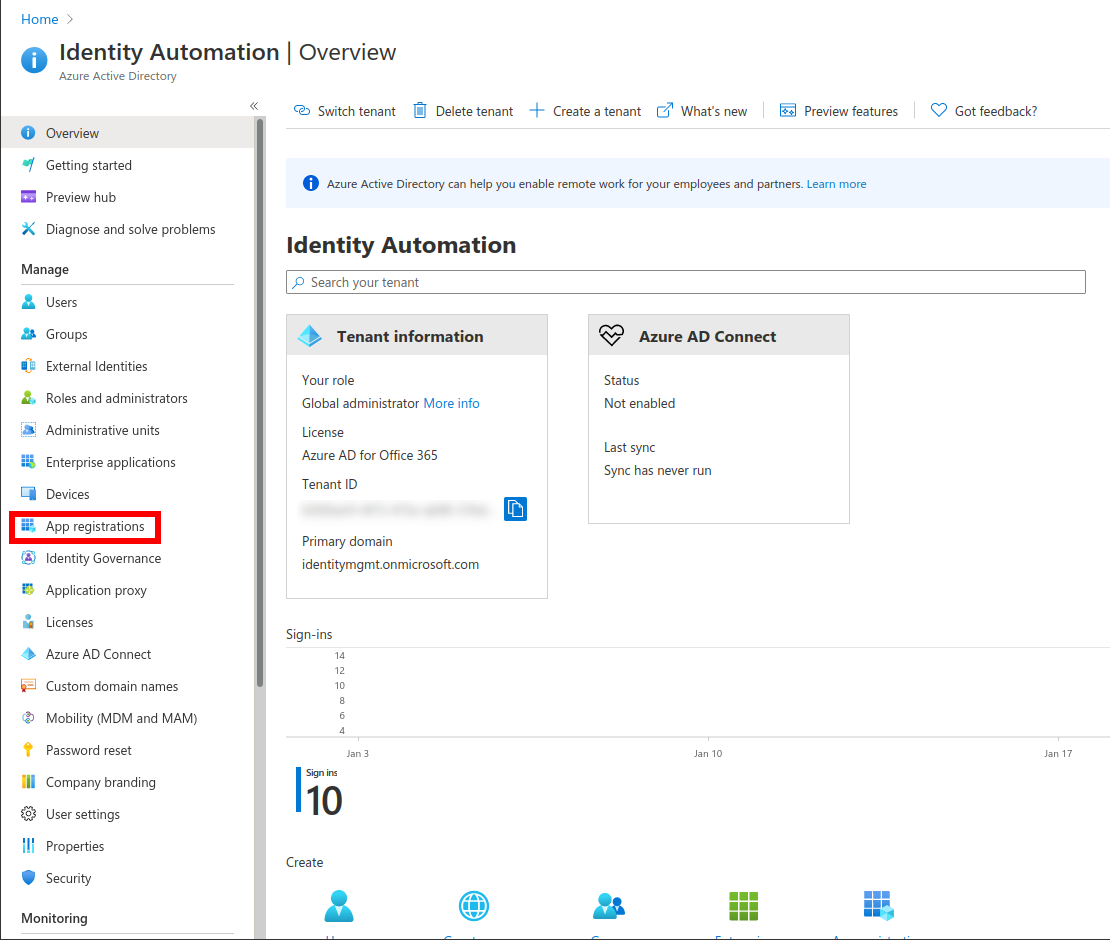
Select App Registrations.
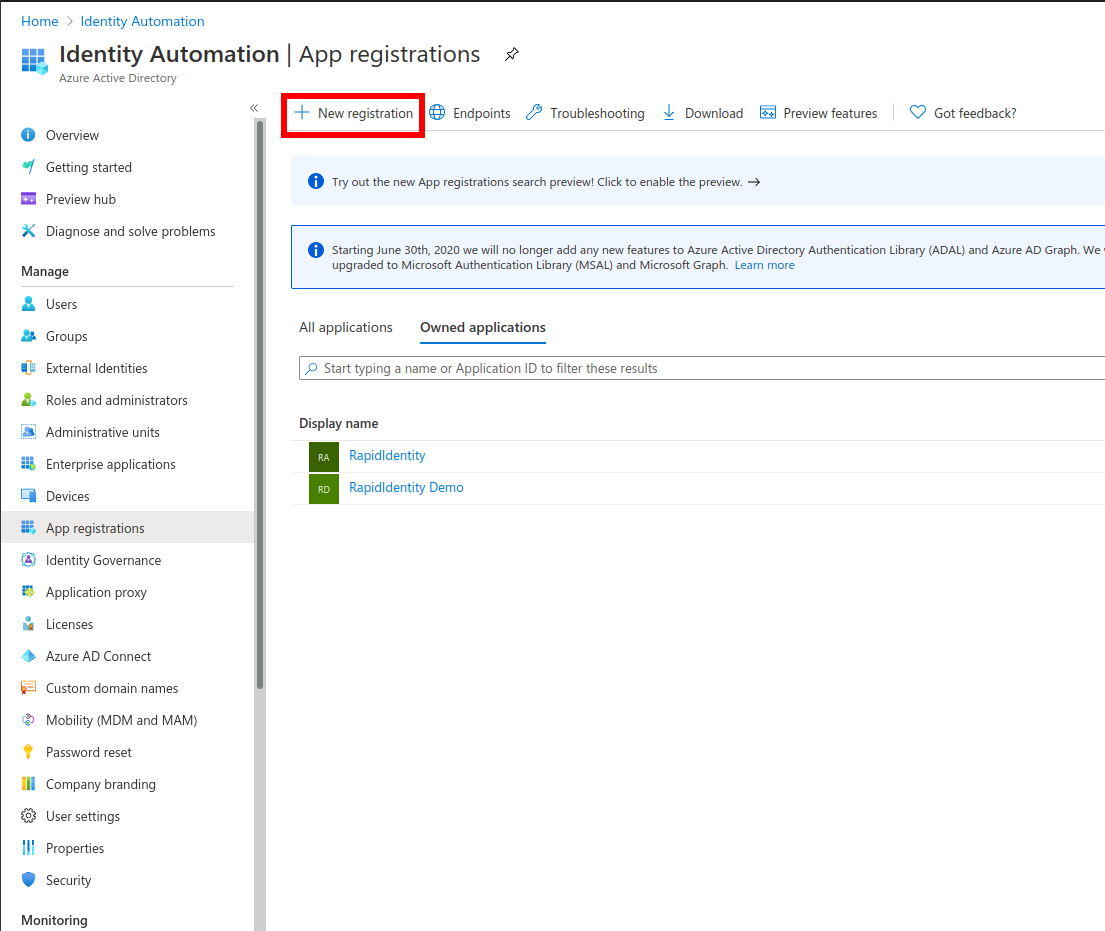
Click New Registration.
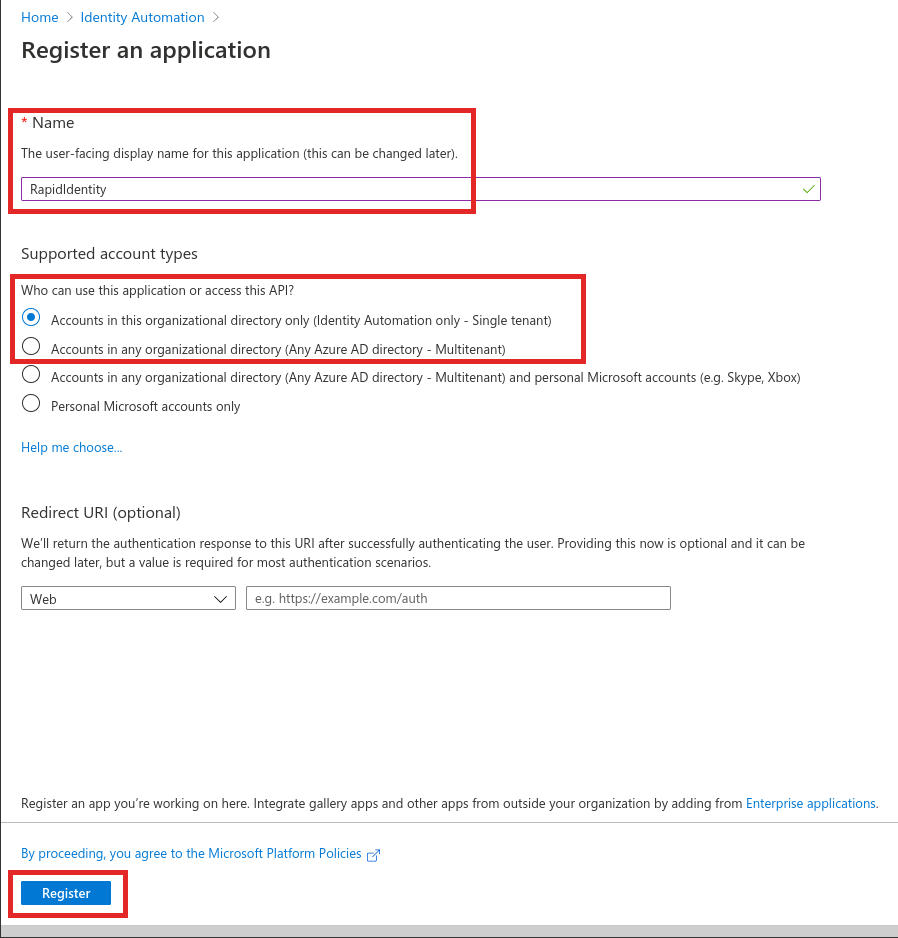
Provide a Name for use within the API, select either single-tenant or multi-tenant, and click Register.
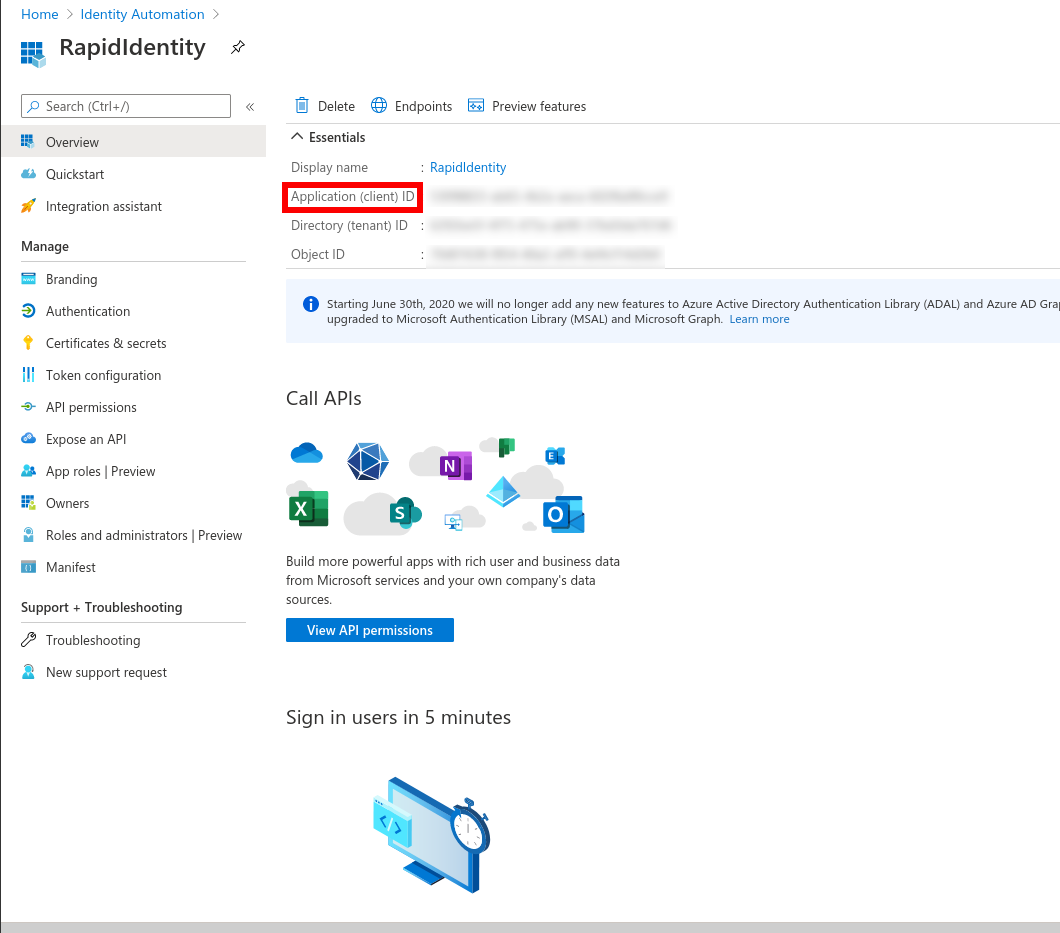
Once Registered, take note of the Client ID.
Select API Permissions in the left menu, and then click Add Permissions.
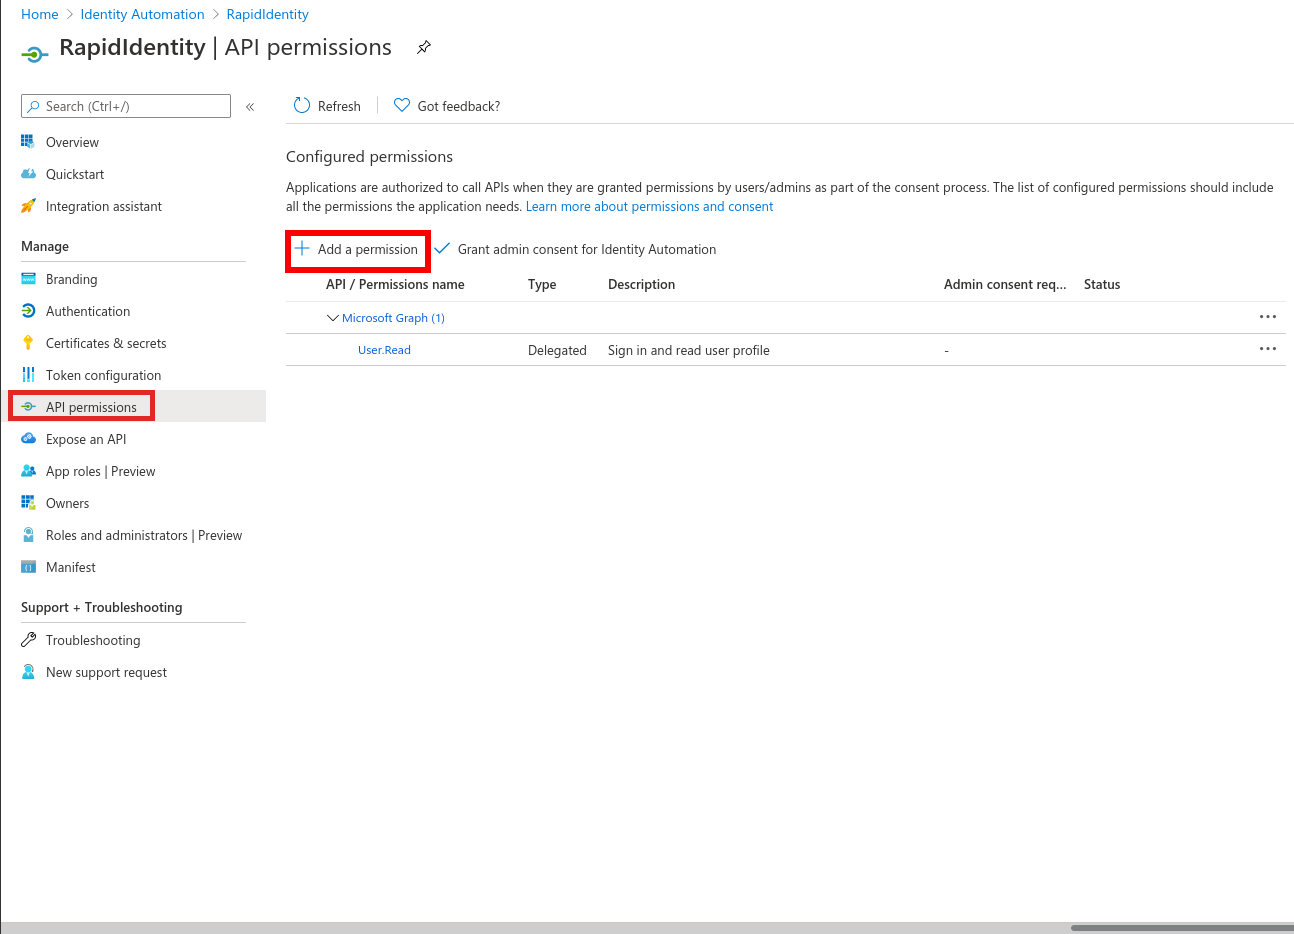
Go to Microsoft Graph.
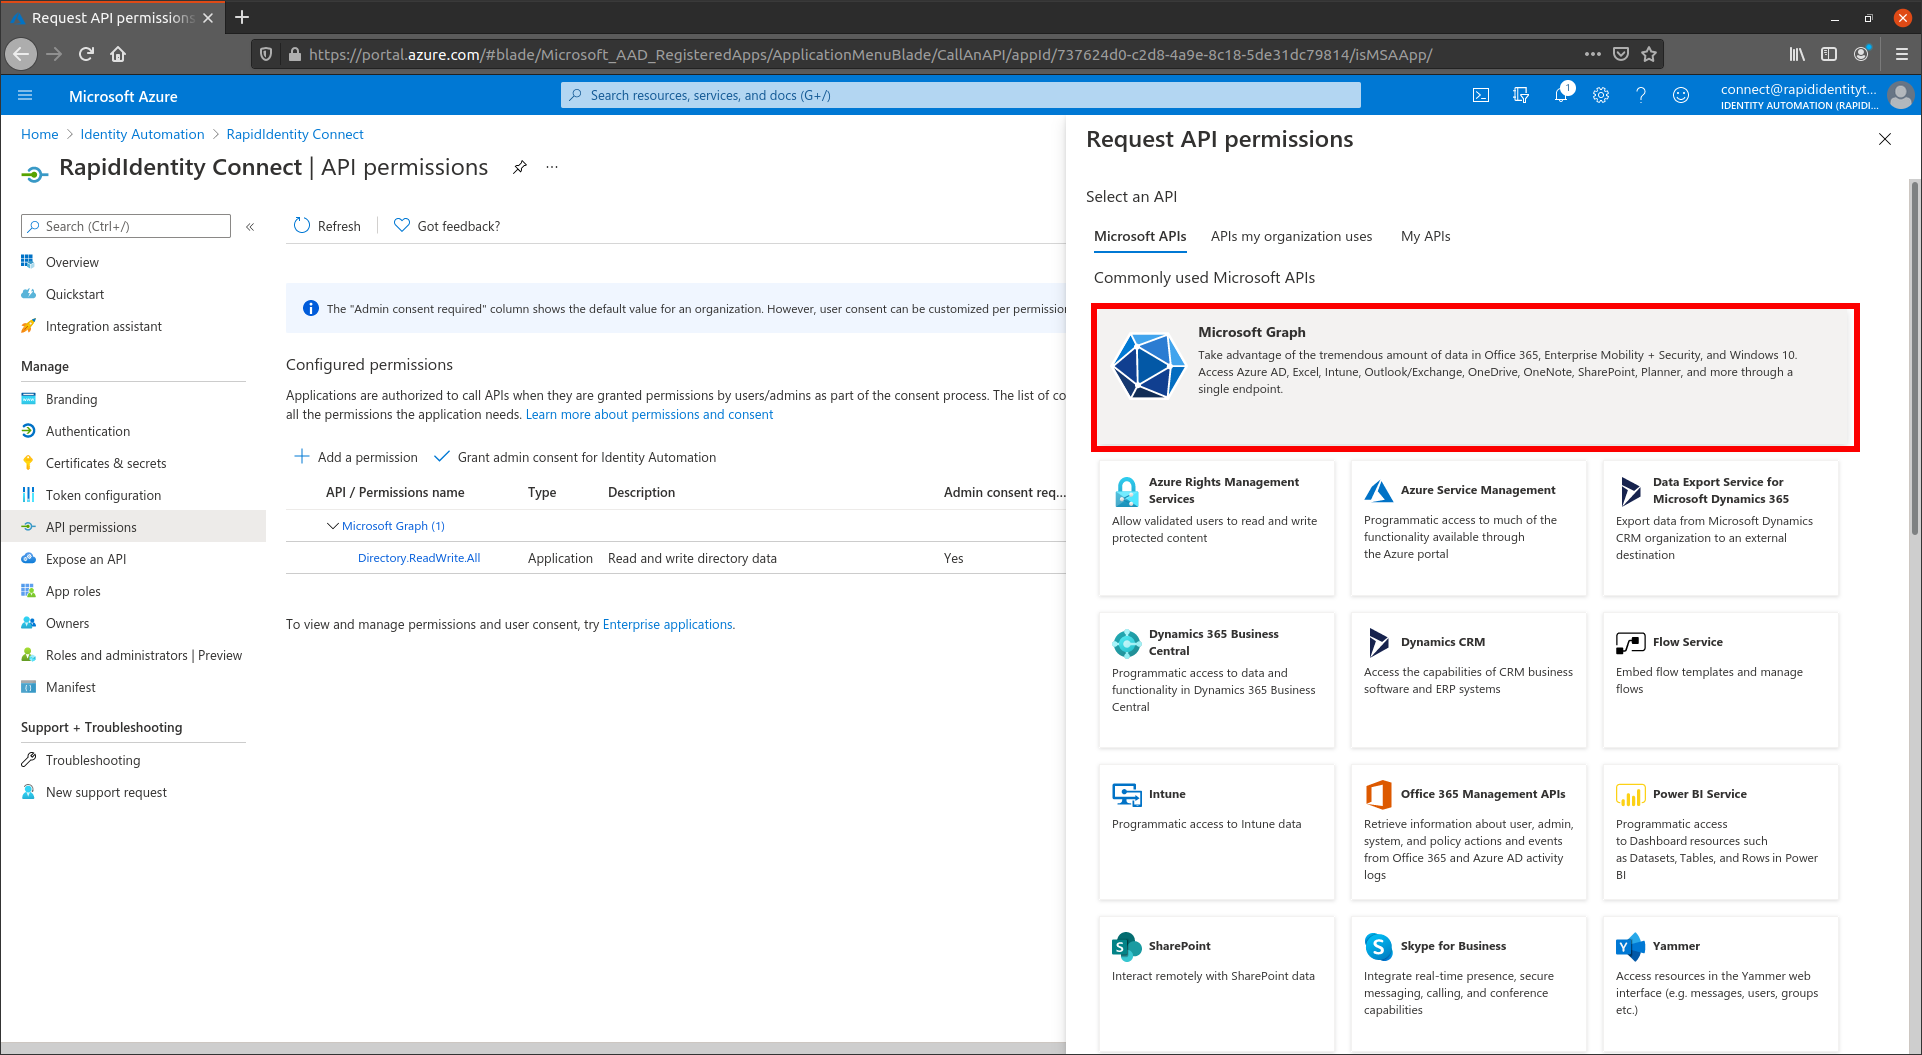
Then select Application Permissions.
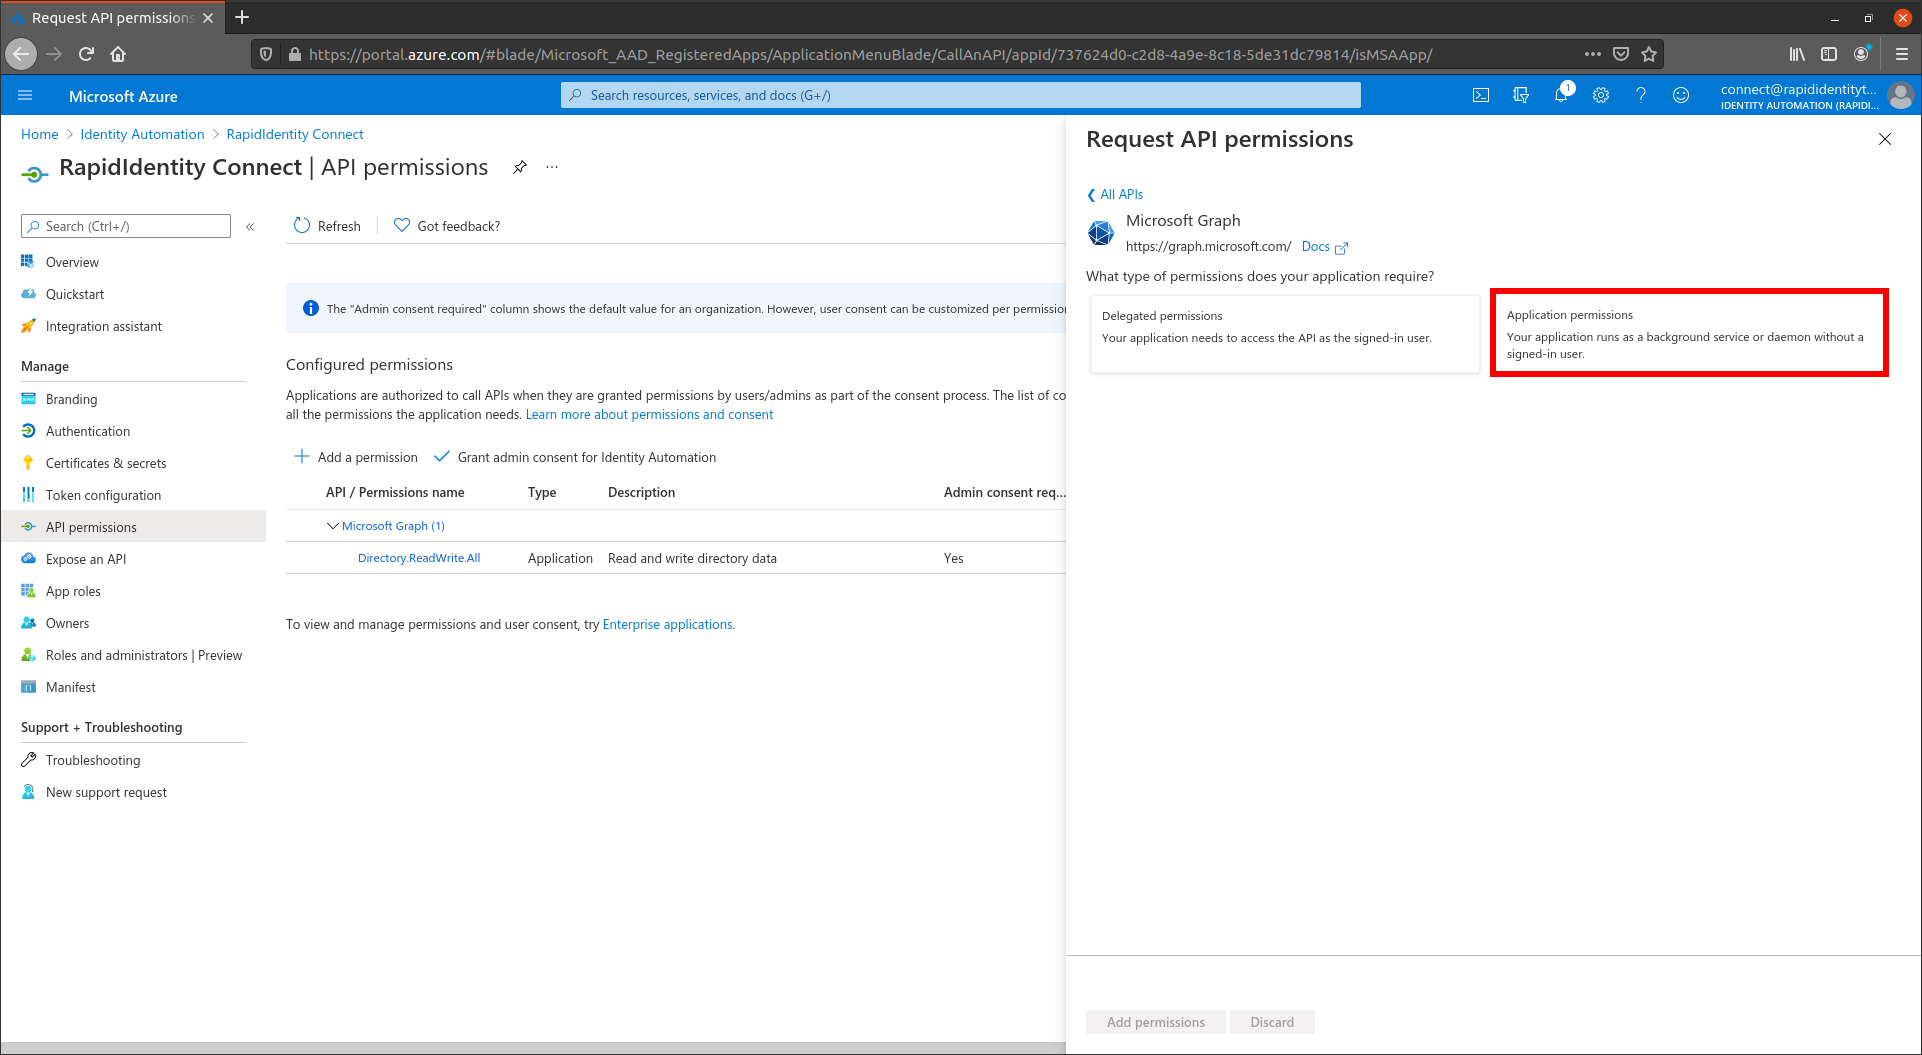
Search for the
Directory.ReadWrite.Allpermission. Select it, then click Add Permission.
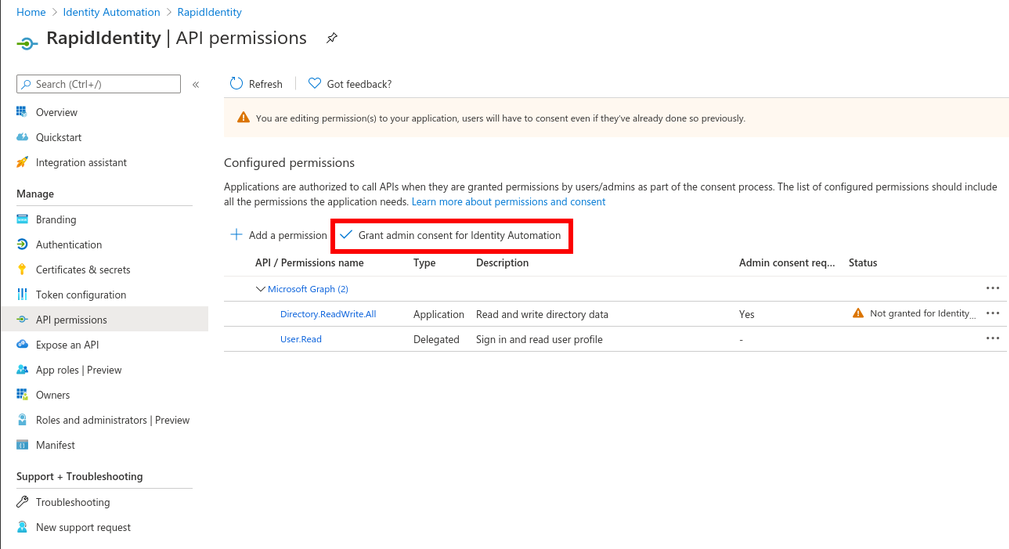
Select Grant Admin consent for Identity Automation permissions.
Go to Certificates & Secrets and select New Client Secret.
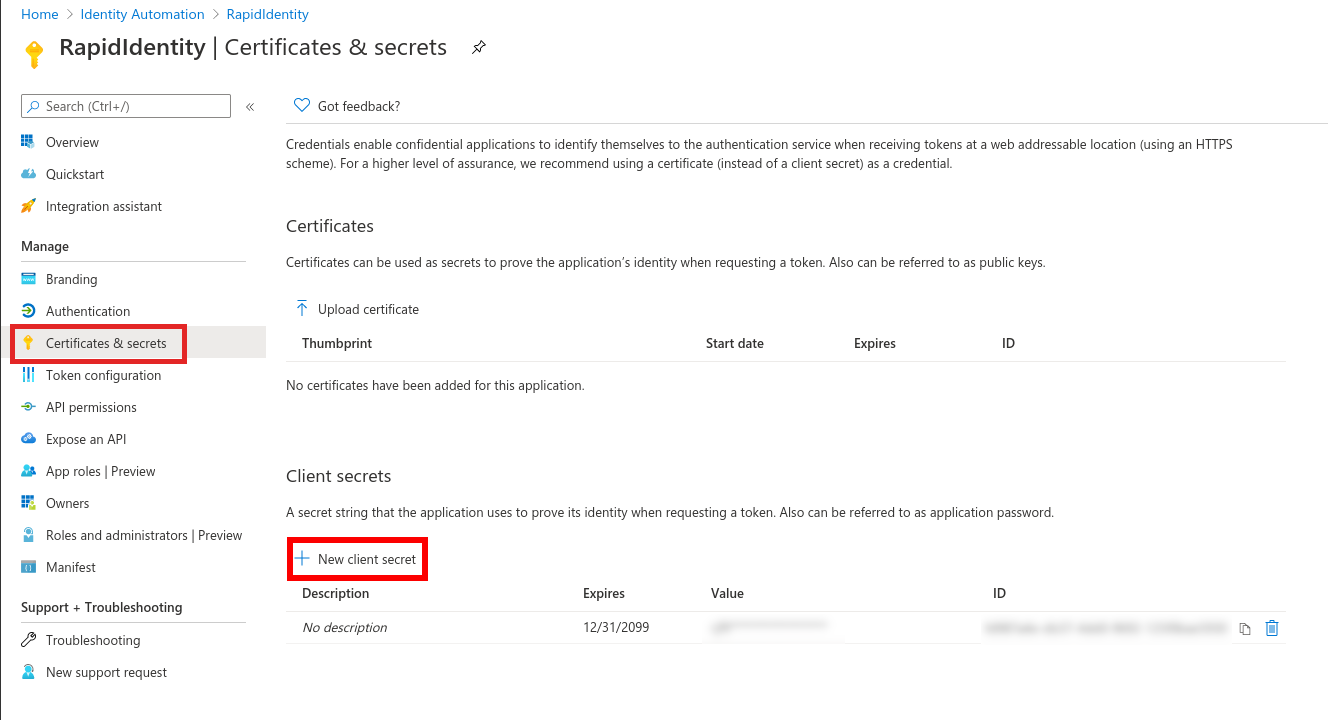
Add New Client Secret.

Note
Make sure to save the Value that shows when the Client Secret is created. This page is the only time it will be viewable, so ensure it is captured for future use and stored in a secure place, such as a password vault.
The maximum amount of time for the secret is 24 months, even if Custom is selected.
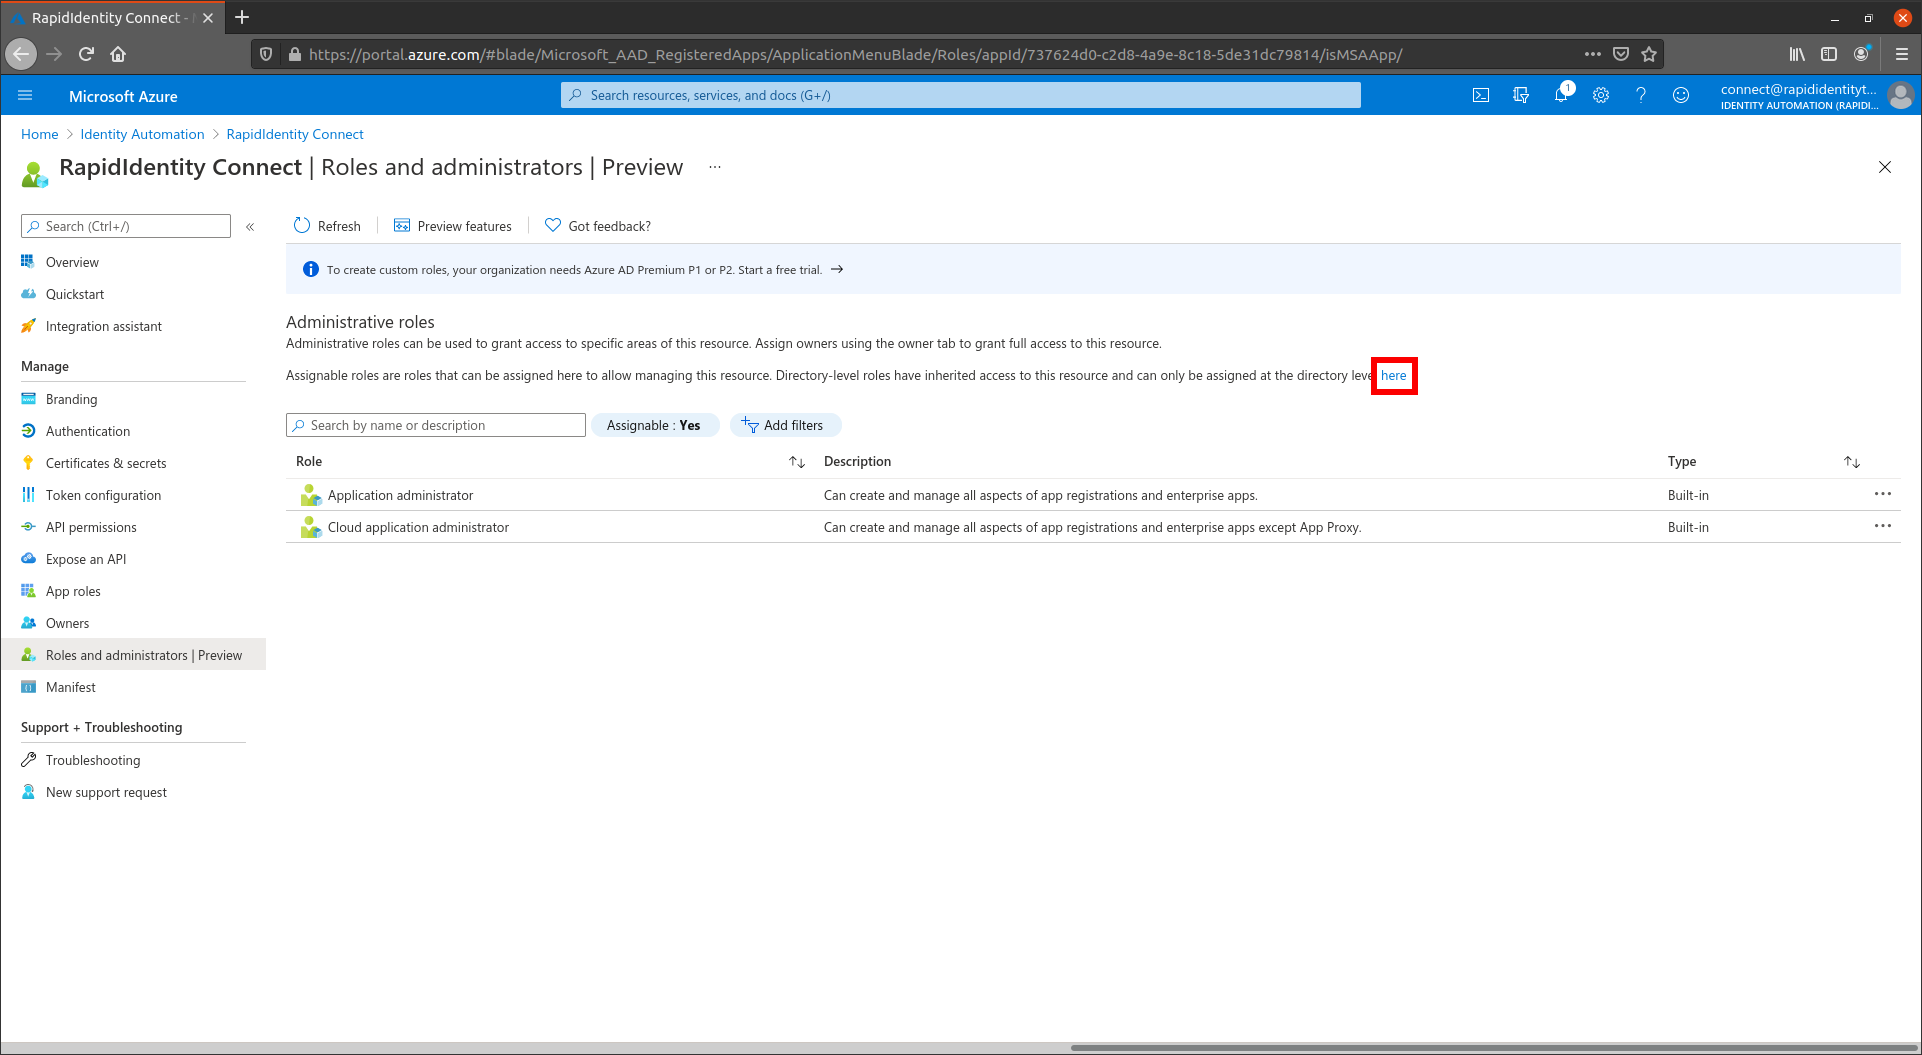
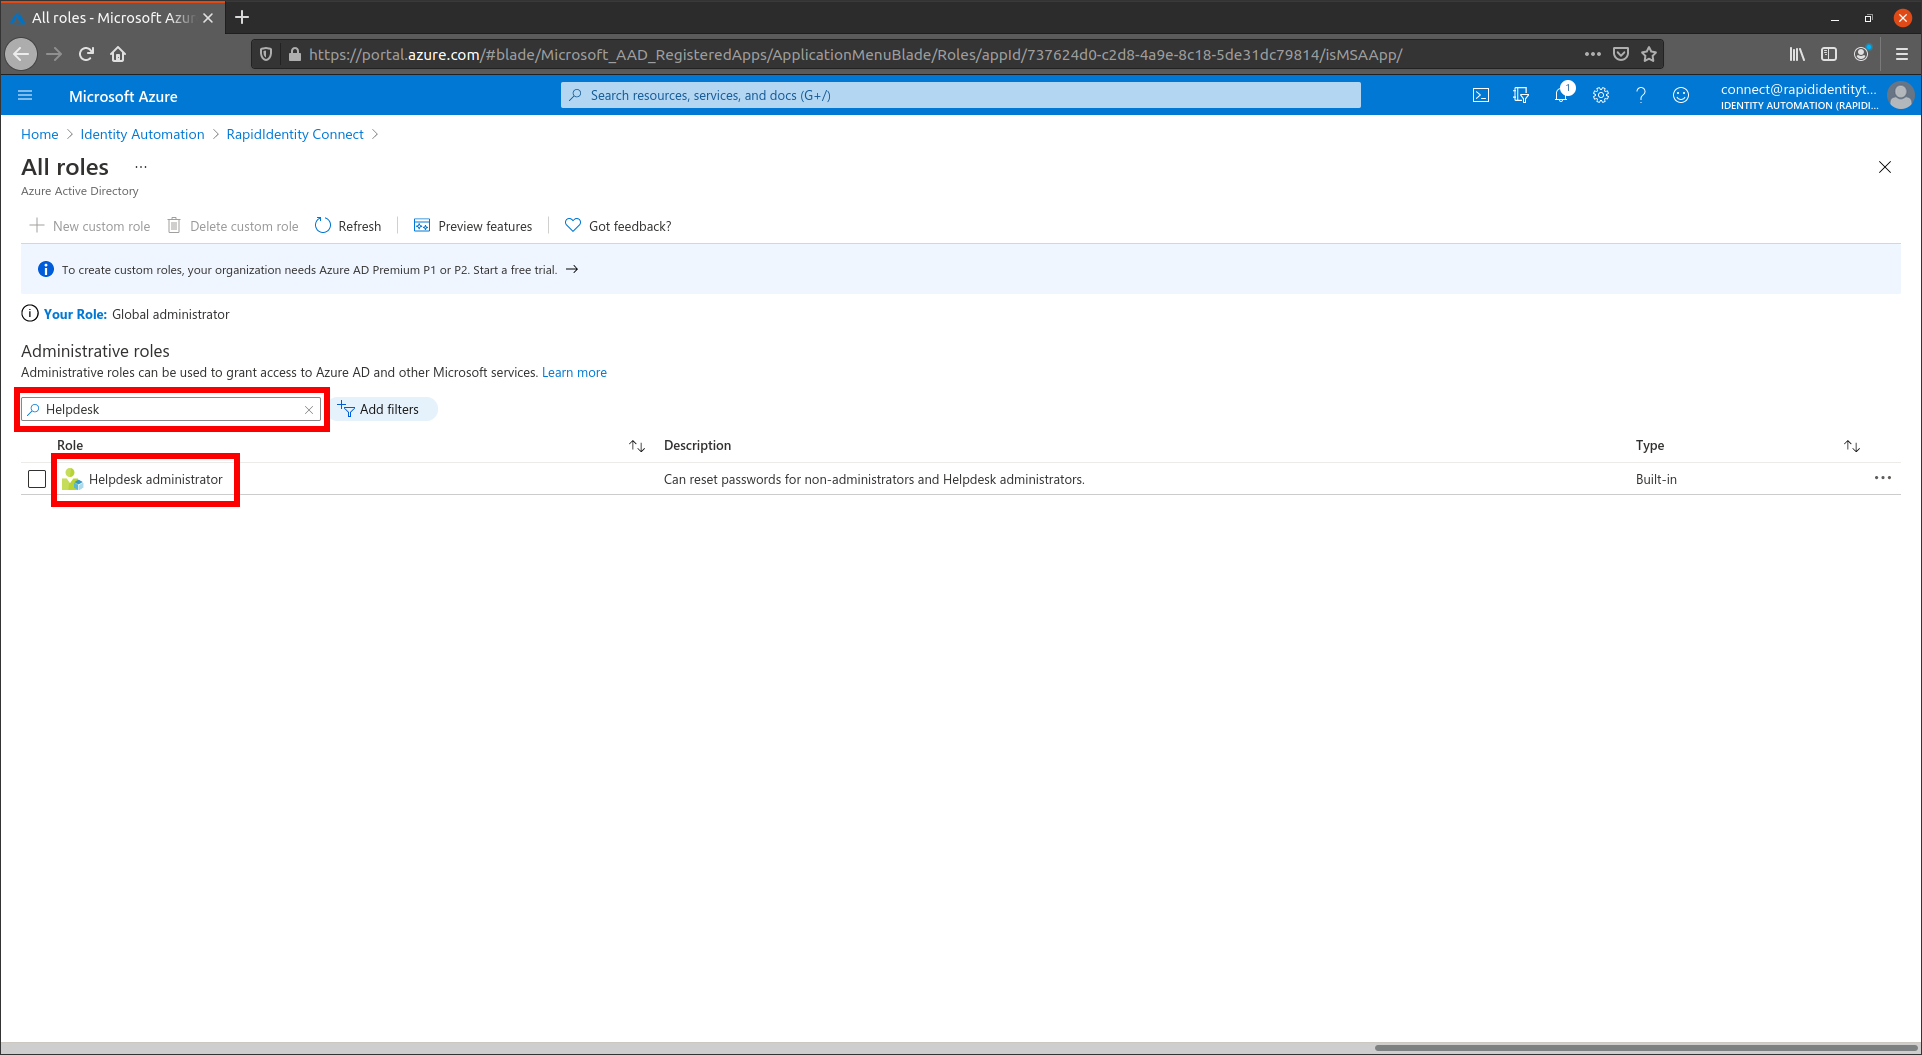
Go to Roles and Administrators | Preview, and select here to go to the directory-level roles.
Search for Helpdesk Administrator and select the row.
Note
If you would like to also update administrator passwords, you can use the Global Administrator role or create a custom role.
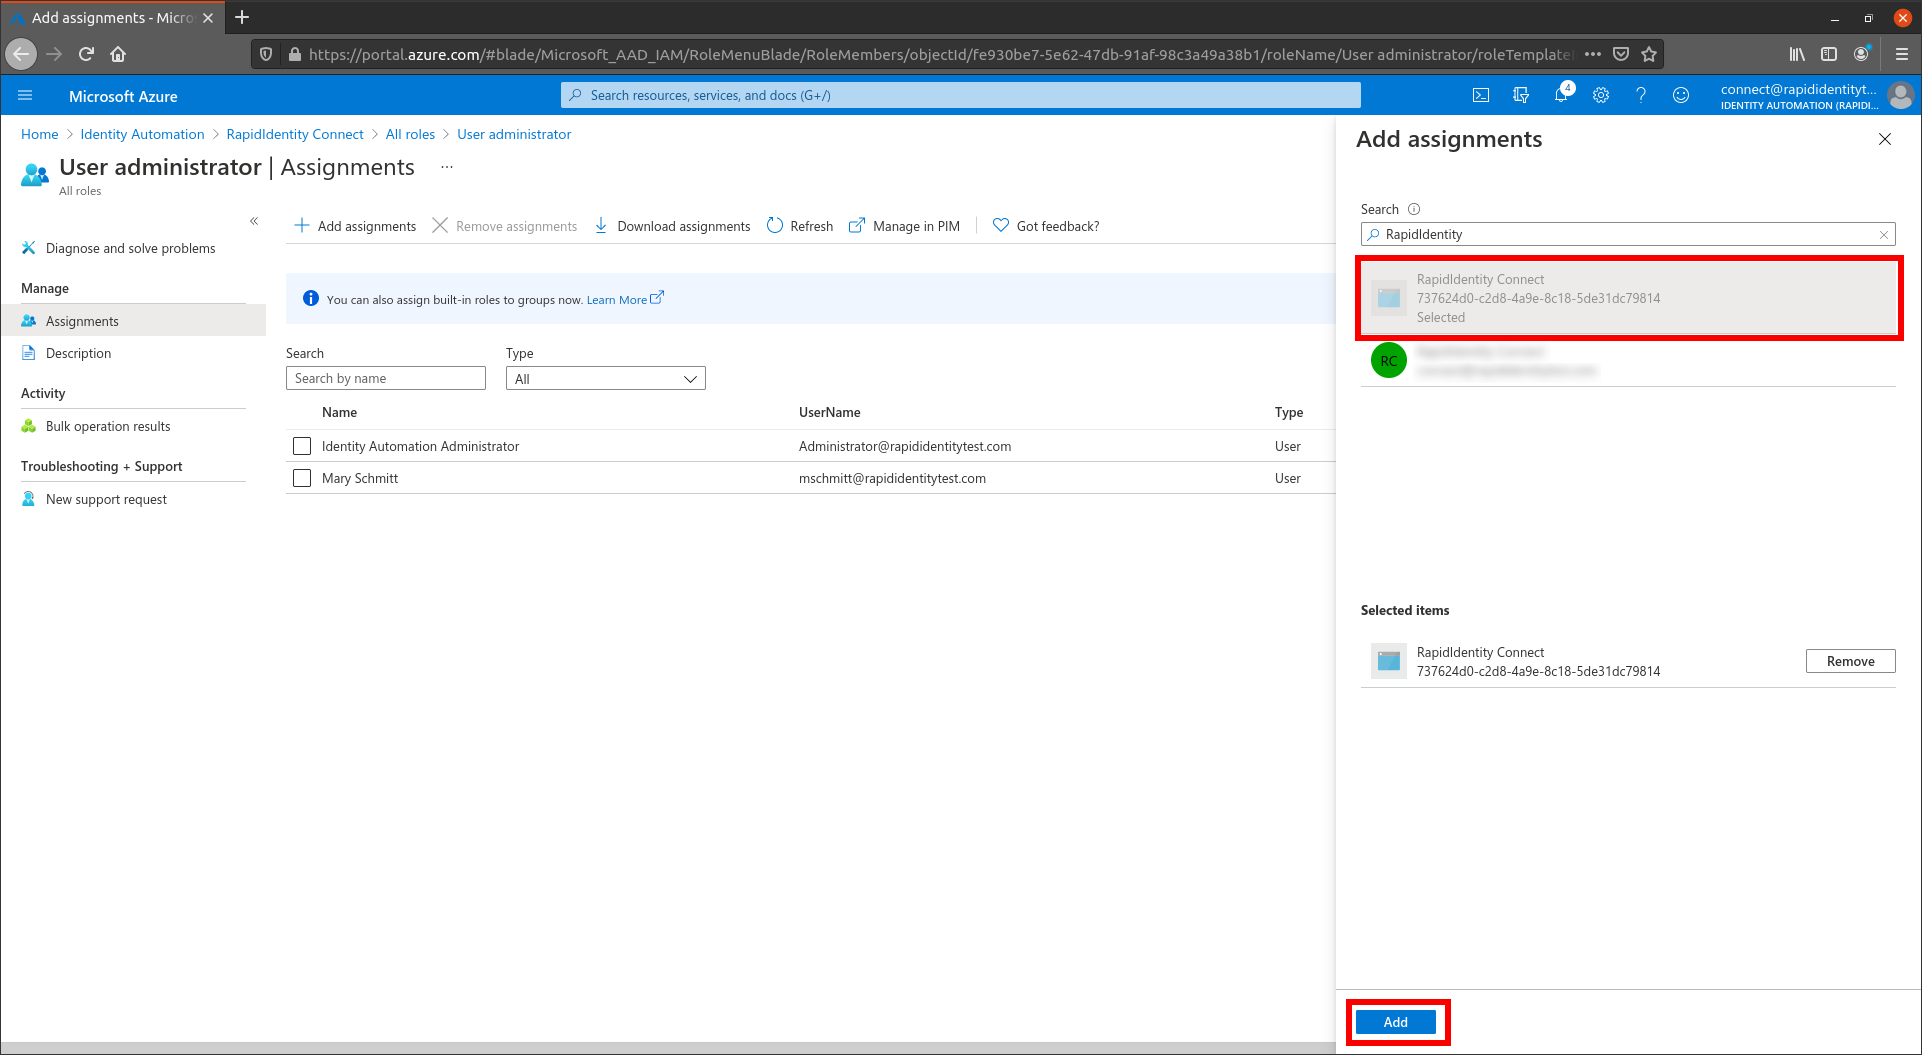
Select Add Assignments.
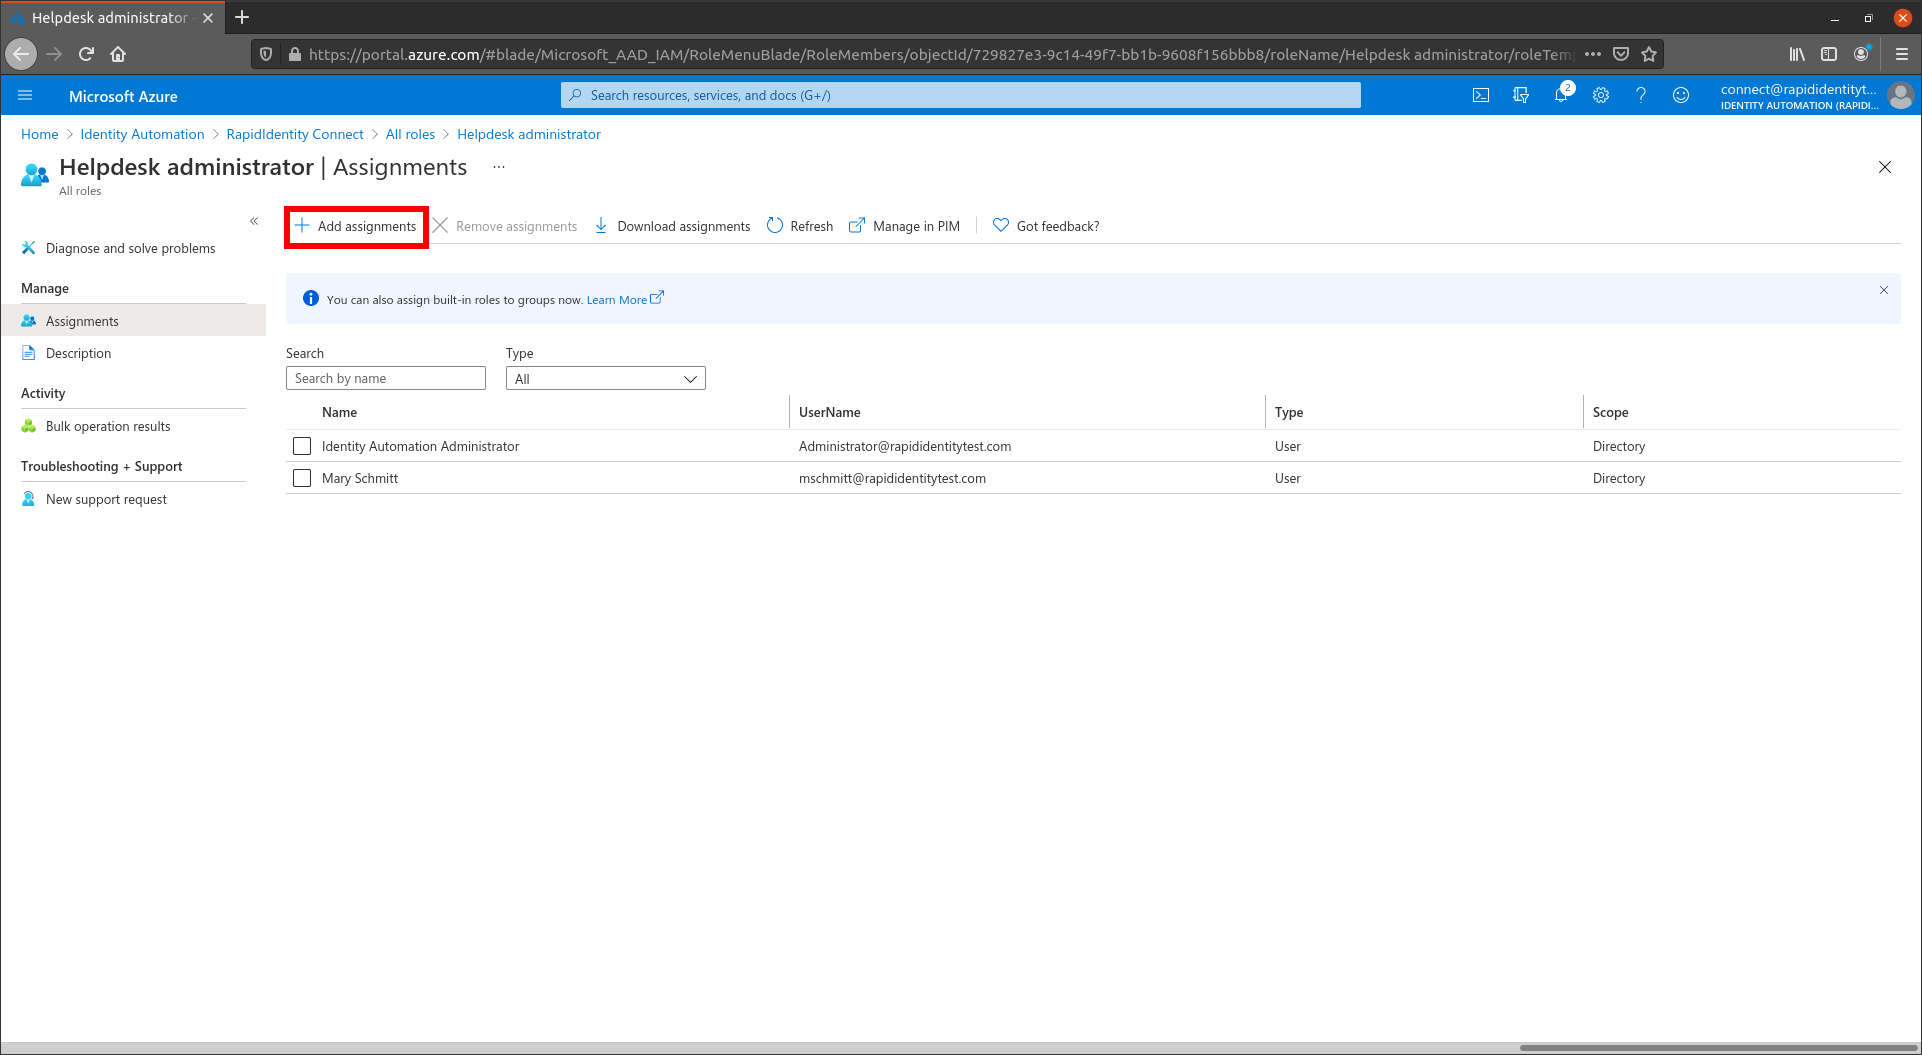
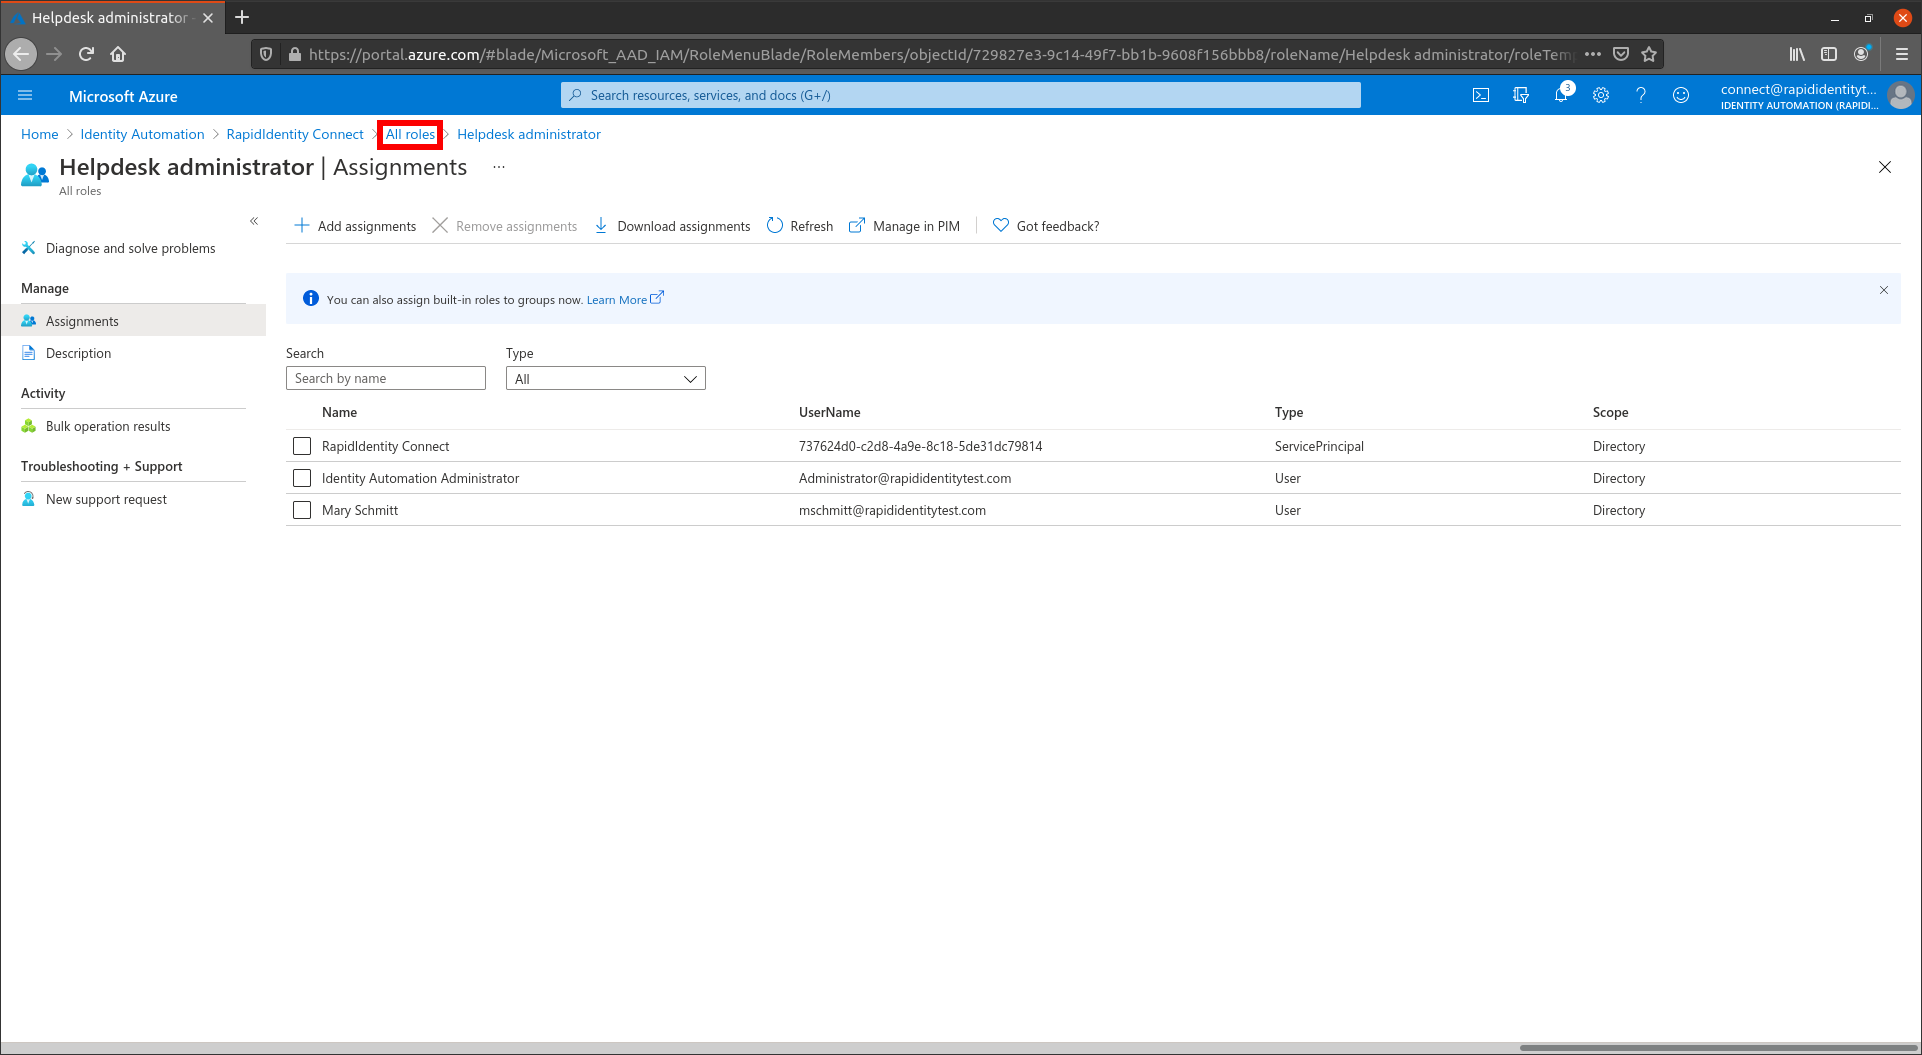
Search for the application you registered in step 4 and select it. Once selected, click Add to add it to the role. This gives the application the permissions to set non-administrator passwords.

Go back to the All Roles view by clicking All Roles at the top of the window.
Search for User Administrator and select the row.
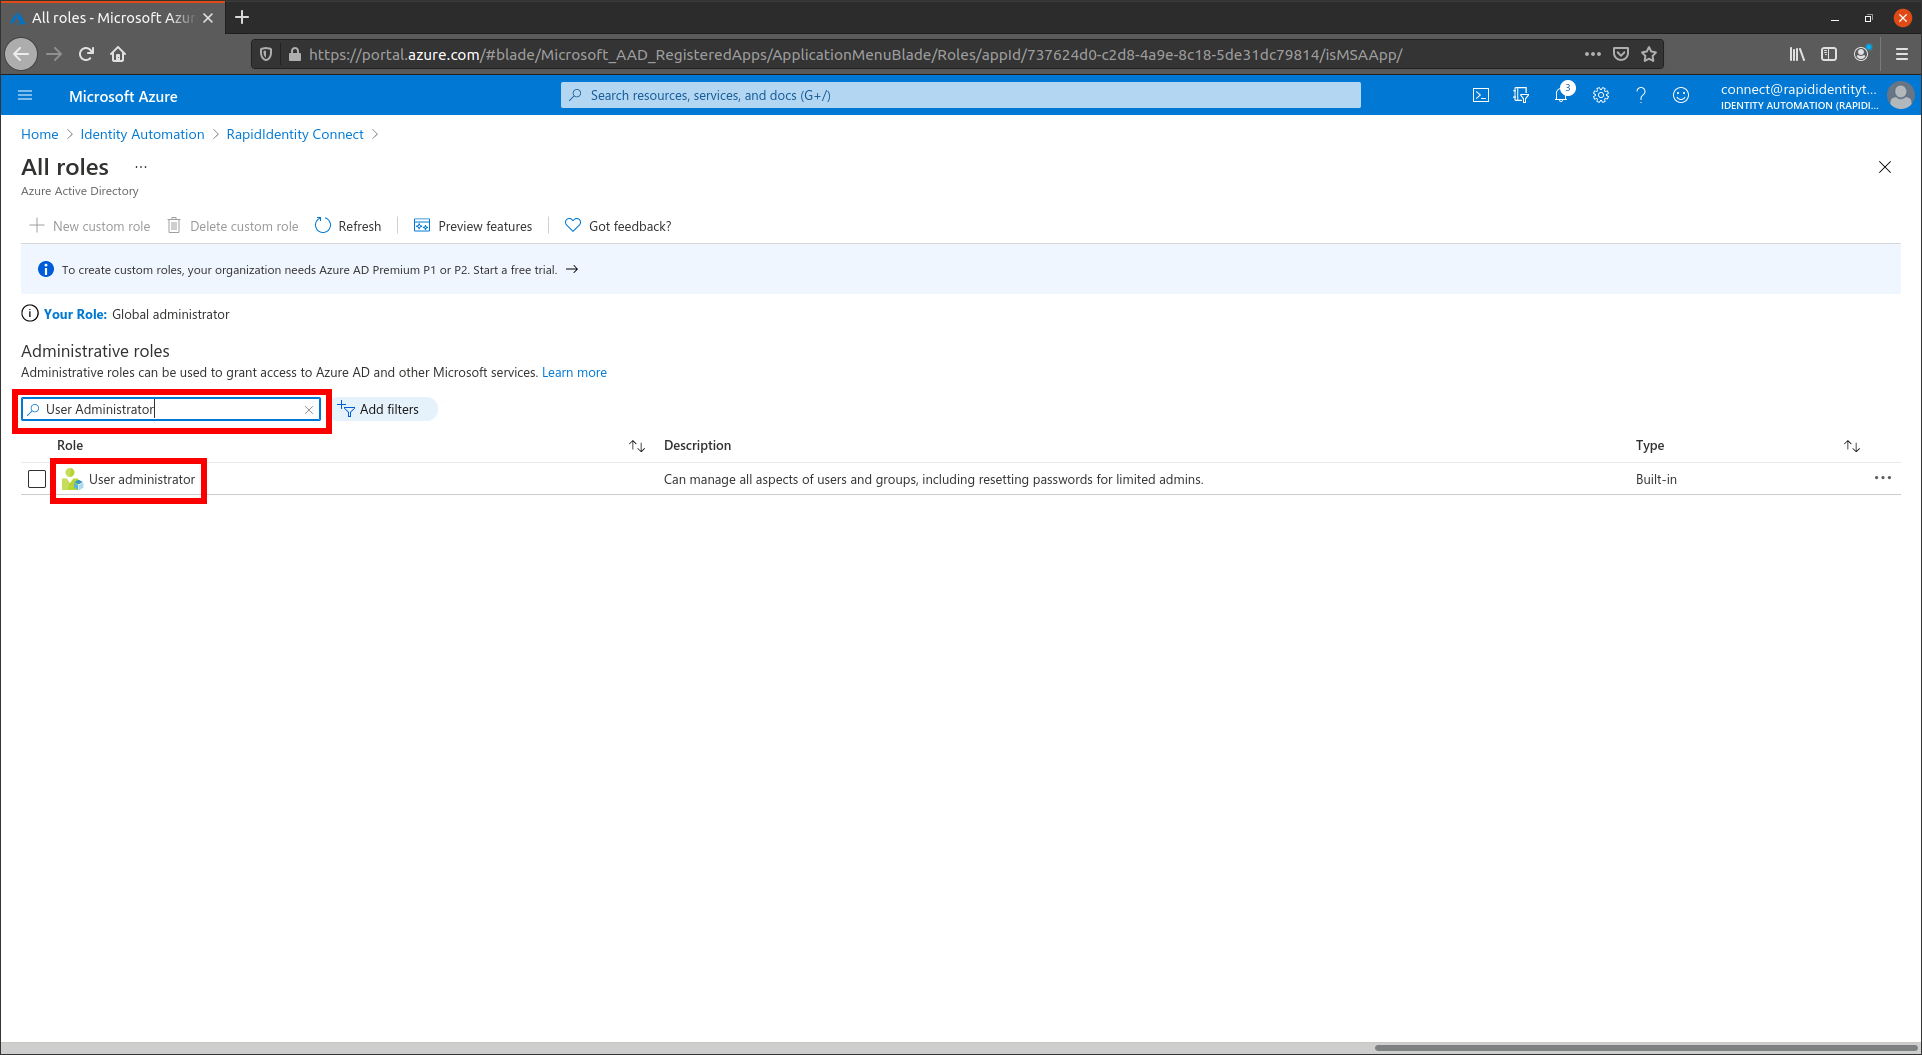
Select Add Assignments.

Search for the application you registered in Step 4 and select it. Once selected, click Add to add it to the role. This gives the application the permissions to delete non-administrator accounts.