Import Policy
After setting up the system credentials, the next step is to provide information that allows Clever IDM Enterprise to import account data from your Active Directory environment into the Clever IDM. This critical step allows the Clever IDM Enterprise solution to match identities to accounts as well as match the information coming from Clever.
Note
This process brings in basic information such as First Name, Last Name, Username (sAMAccountName), and unique identifier (such as student number or employee number). No passwords are imported.
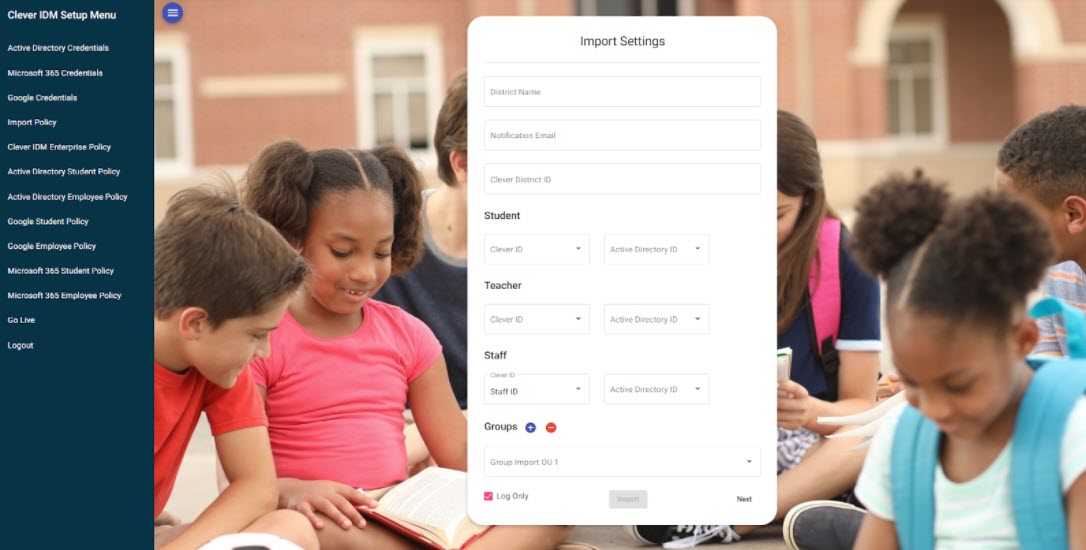 |
Some of the information specified on this form will be used for settings in the system, such as the District Name and the notification email address. Clever IDM Enterprise will use the notification email address to send email notifications to district administrators with any errors or system notifications.
The Clever District ID is a unique identifier that maps the Clever IDM Enterprise tenant to your Clever tenant and allows the system to retrieve data from Clever. This is something that your Clever CSM or Identity Automation CSM can provide during the configuration process.
The next section is used to specify Student, Teacher, and Staff identifier mappings between the Clever Data and fields in Active Directory. For each of these types, the Clever ID is limited to data fields that Clever uses to store this information (based on the .csv files sent from the district to Clever), and the Active Directory list is a list of all possible attributes in Active Directory that might have been used to store this unique identifier.
Note
If your district does not store these unique identifiers in Active Directory, your CSM will provide you with additional information and guidance.
Clever IDM Enterprise must have a unique method for matching accounts between the Identity Store and Active Directory. The most common method is to use a student and/or employee number or SIS ISD. However, if that is not present in Active Directory, it will be necessary to add them to Active Directory to ensure that the correct existing account in Active Directory can be matched to the data in Clever IDM Enterprise.
The last item on this configuration page is the AD Security Groups configuration. This section is used to specify which Organizational Units (OUs) to look at to import groups from. The OUs in the list will match the corresponding OUs in the district Active Directory. It is possible to add as many OUs here as needed by clicking on the blue  button or remove them by clicking the red
  button.
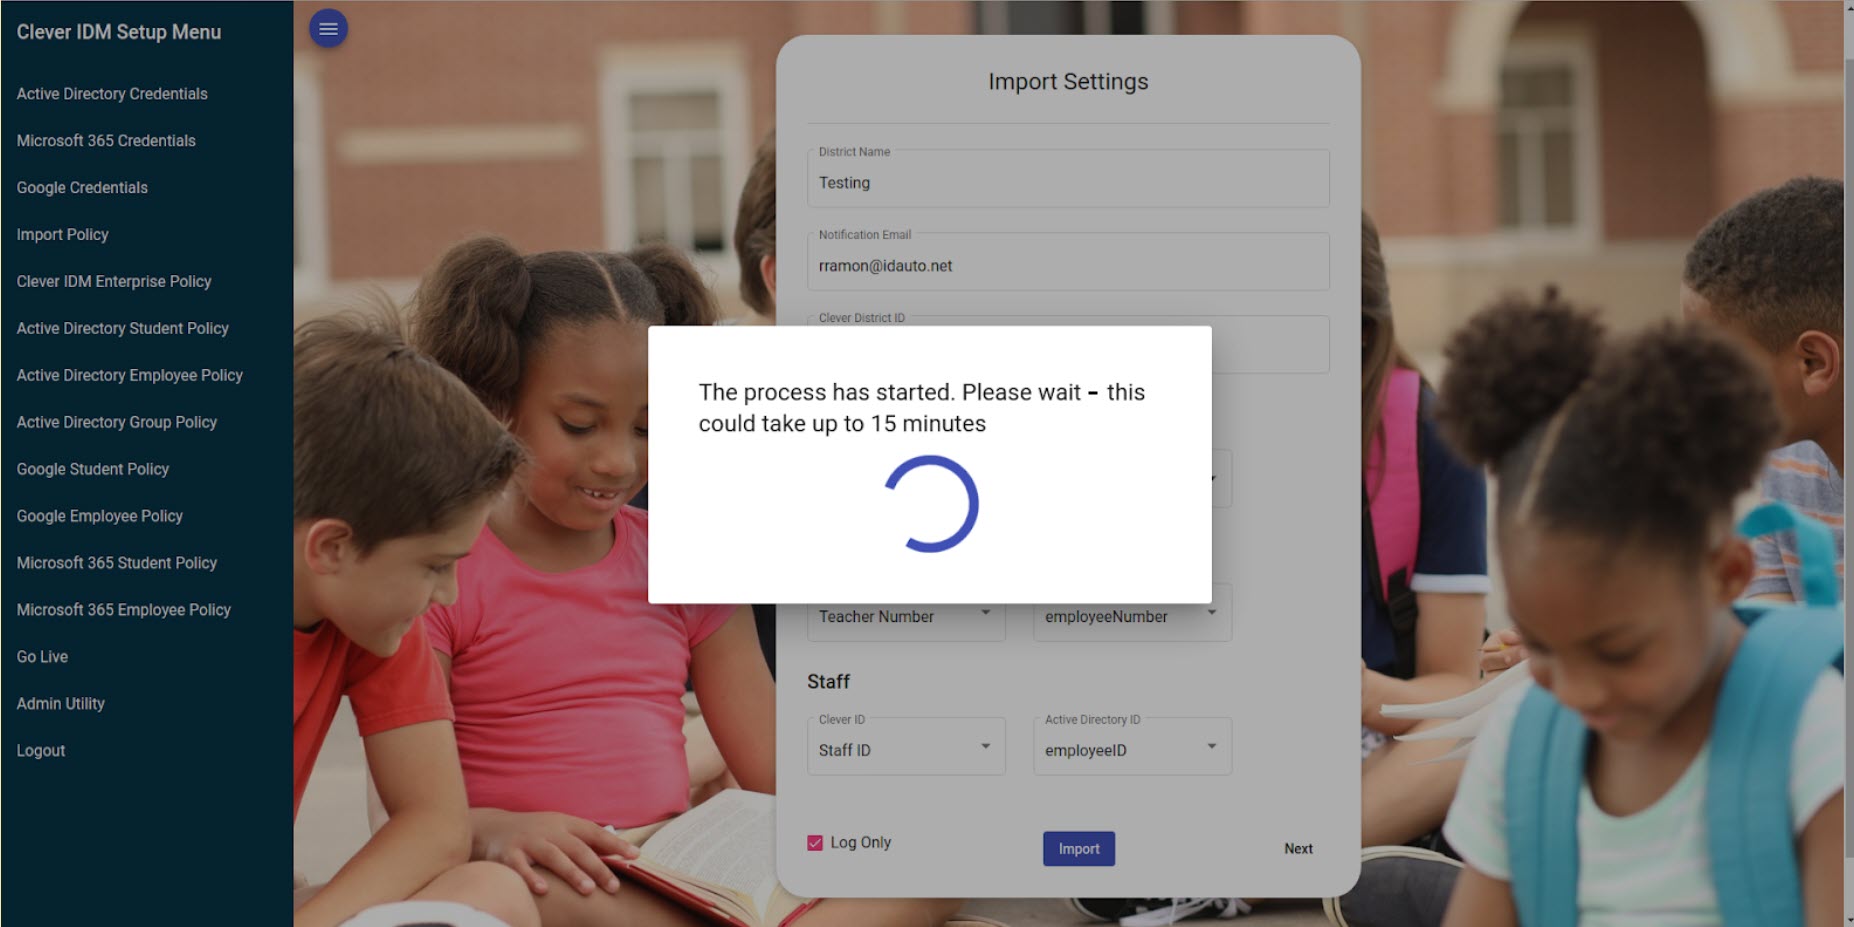
Once all of the configuration settings are established, the import process can (and should) be run in Log Only mode. Specify this by checking the box labeled Log Only in the lower-left corner of the form. Checking this indicates that this should only run a test and not actually import any information.
When you click on the Import button with Log Only checked, the system will run through a process that queries Active Directory for existing accounts and groups and will produce a summary of the accounts and groups that will be imported. This summary should be compared to the objects that exist in Active Directory to verify that the data is correct.
 |
The next screen shows a summary that should be compared to the objects in Active Directory to determine if this looks correct.
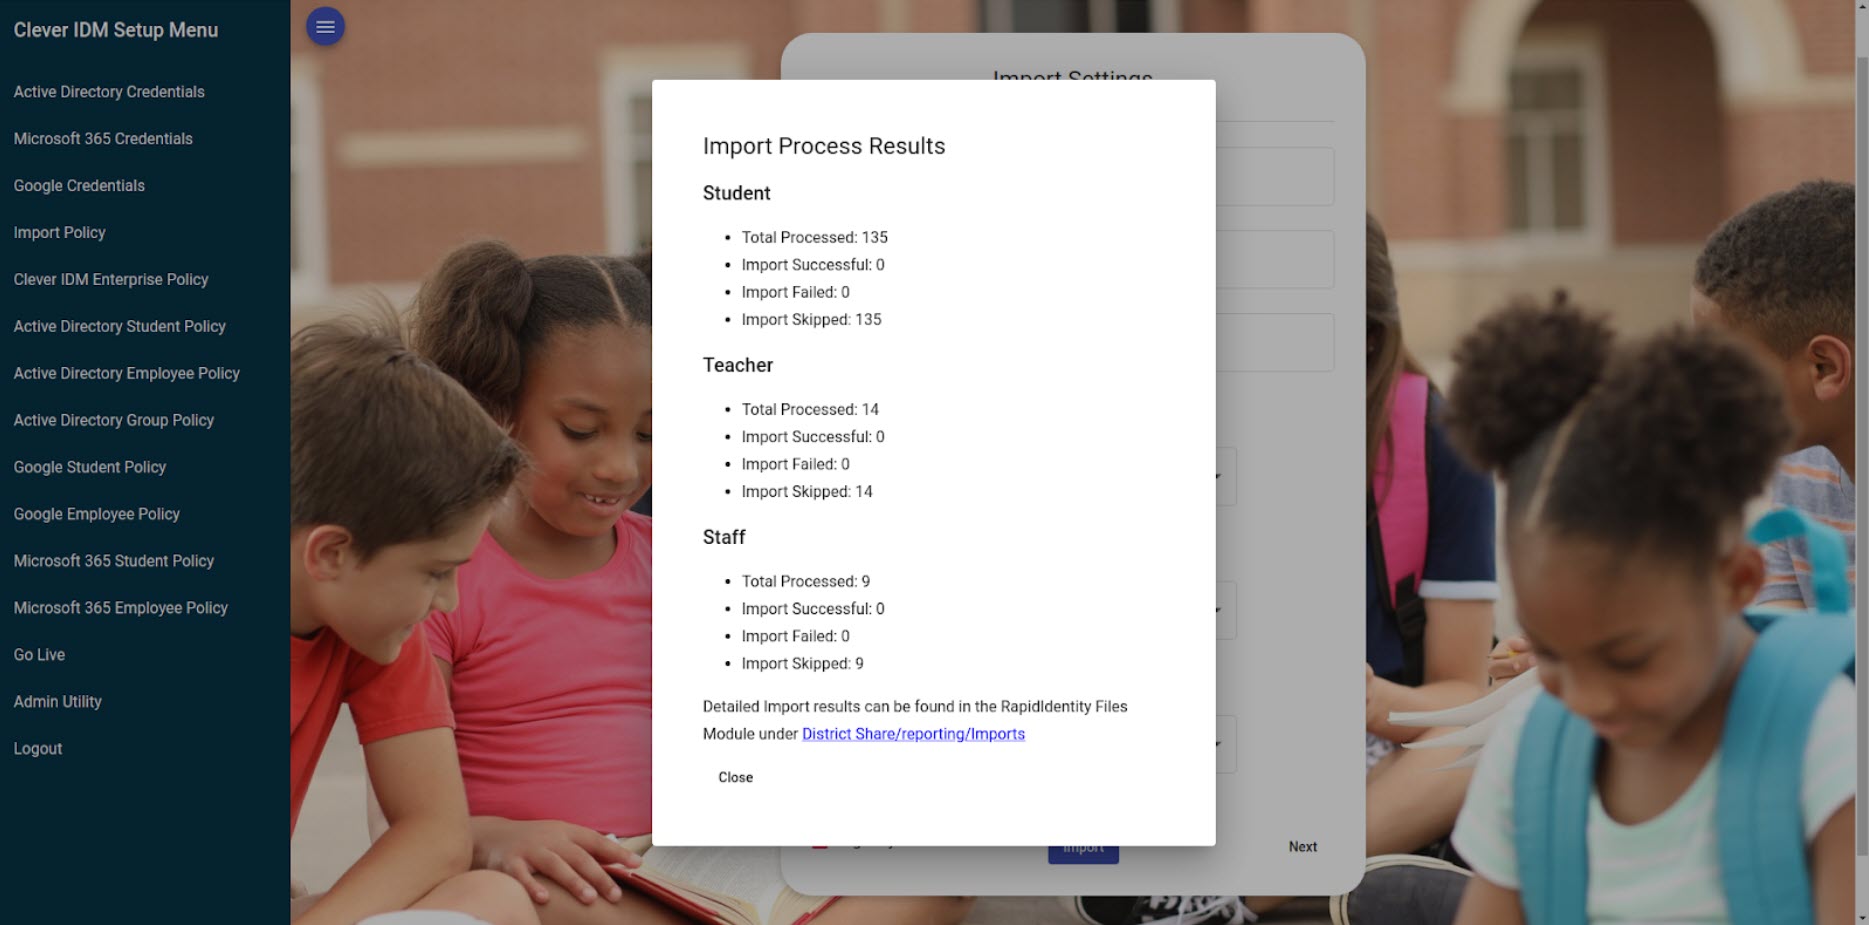 |
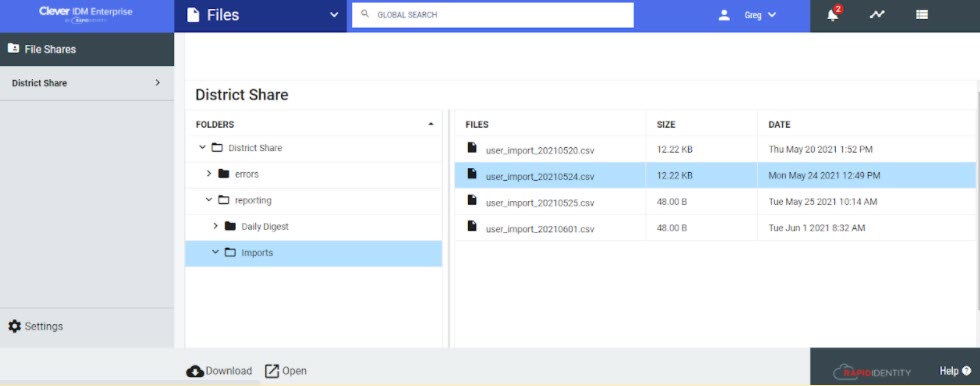
After the Log Only report has been created, it can be accessed by clicking on the link in the Import Process Results message.
Alternatively, this can be done by going to the Clever IDM Enterprise tenant, selecting Files from the drop-down menu, clicking on the District Share item in the left navigation menu, selecting the Reporting folder, and opening the file that lists the date and time for the log-only process.
 |
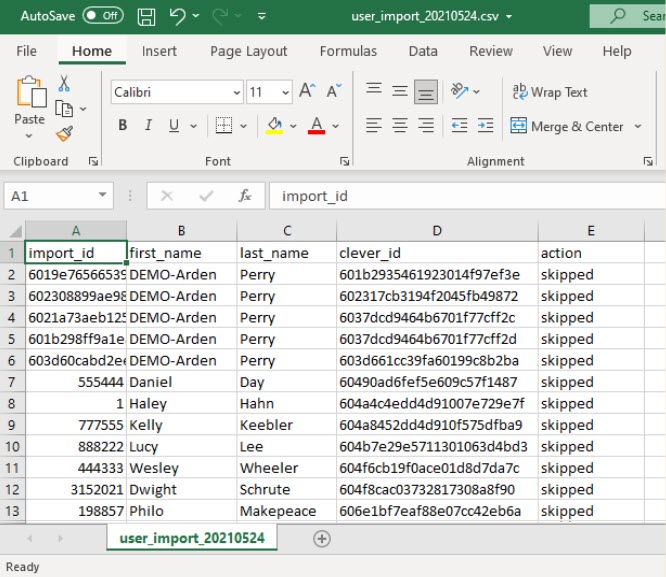
Note
The log file will be in .csv format and can be downloaded and opened in a spreadsheet program such as Microsoft Excel or Google Sheets. An example of a log-only file is shown below.
 |
Once verified that the accounts and groups to be imported match what exists in the district's Active Directory domain, the process can be run again without the Log Only box checked, and the information will be imported into the Clever IDM Enterprise tenant.