Clever IDM Google Configuration
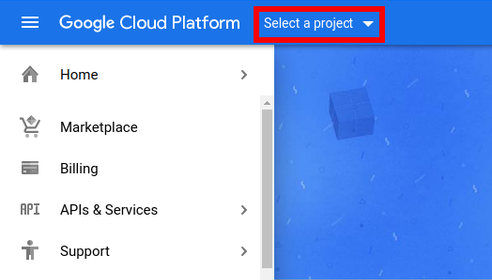
From console.cloud.google.com, click Select a Project.
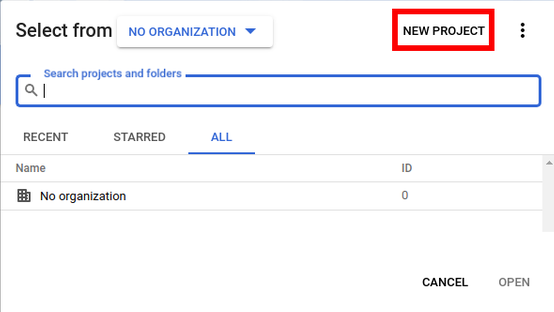
Select New Project.
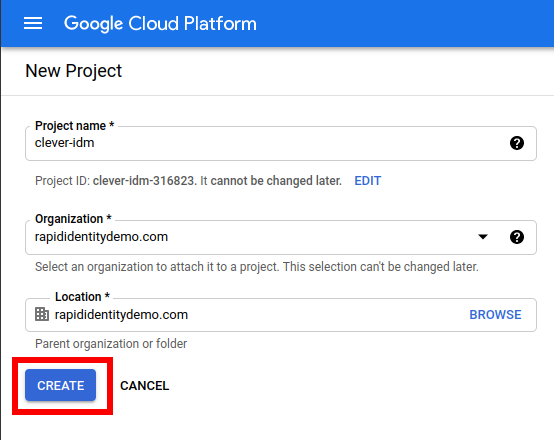
Give the project a name, select the organization, select the location, and click Create.
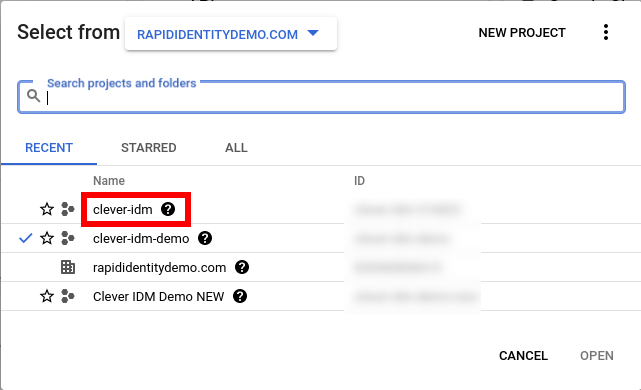
Click to Select Project or a Project Name.

Select the project that was just created from the available list.
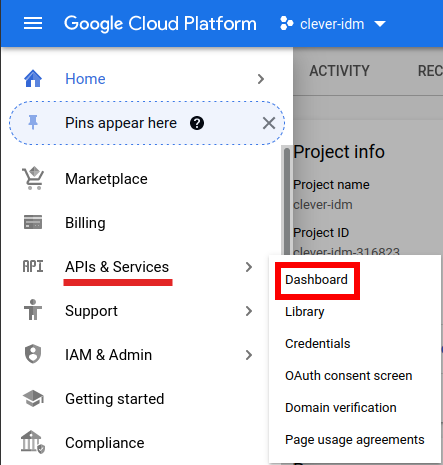
Select the Hamburger menu.

Hover over APIs & Services and select Dashboard.
Select Enable APIs and Services.

Search for
adminand click Admin SDK API.
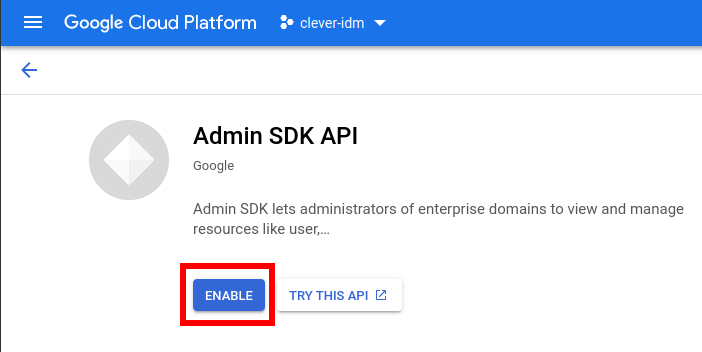
Select Enable.
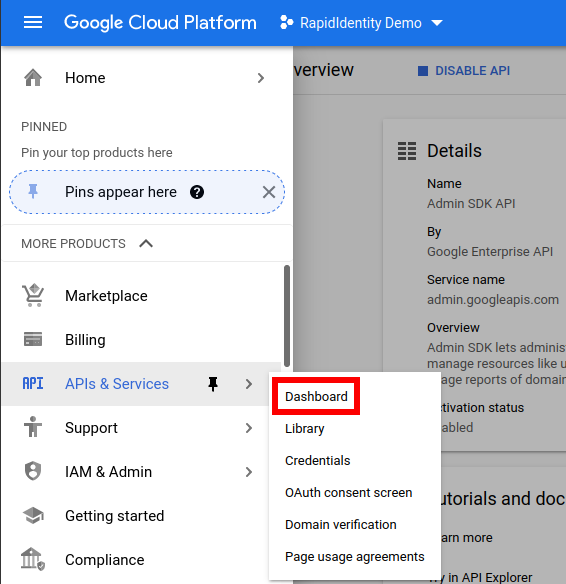
Select the Hamburger Menu once again.

Go to APIs and Services and click Dashboard.
Click Enable APIs and Services.
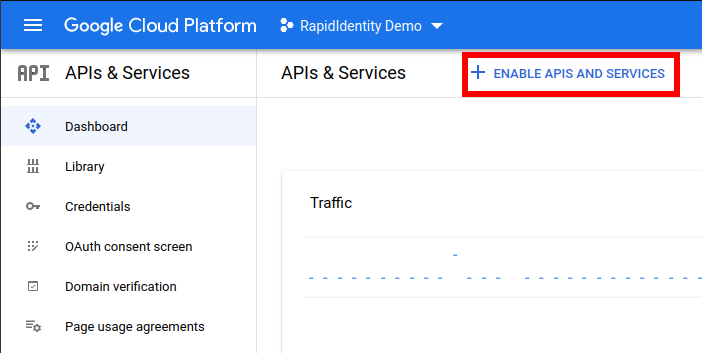
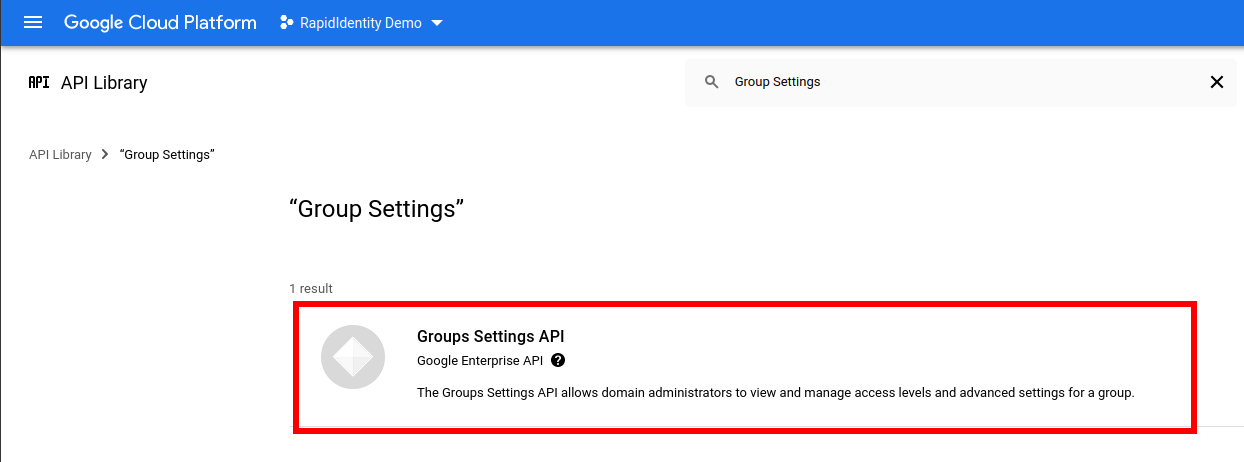
Search for Group Settings in the available search box.

Click Groups Settings API from the search results.
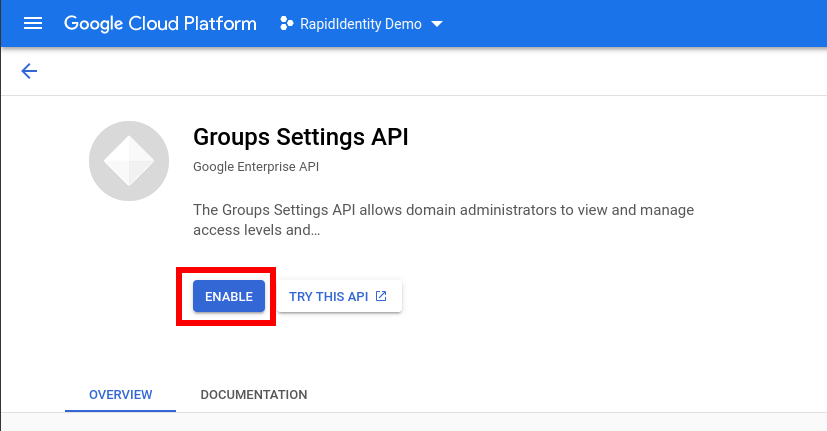
Click Enable.
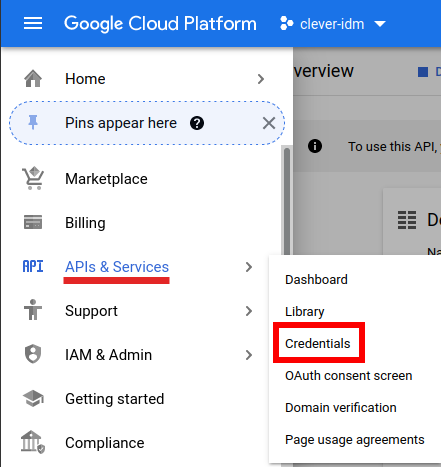
Click the Hamburger Menu once again.

Hover over APIs & Services and select Credentials.
Select Create Credentials and click OAuth Client ID.
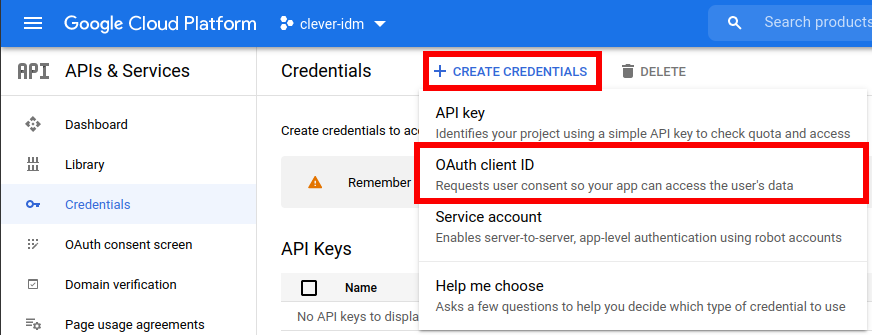
Select Configure Consent Screen.
Note
If you do not see this screen, skip to Step 27.

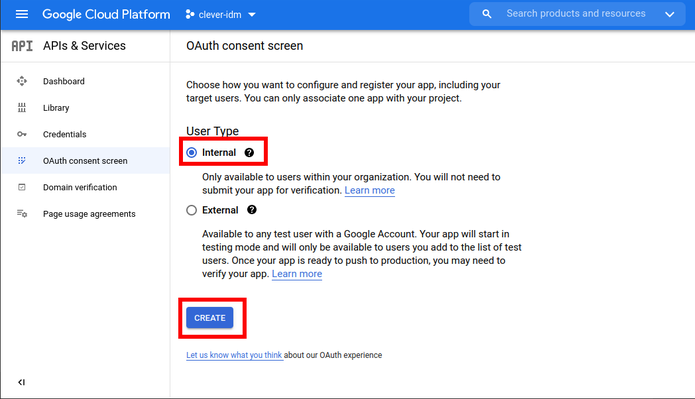
Select Internal and click Create.
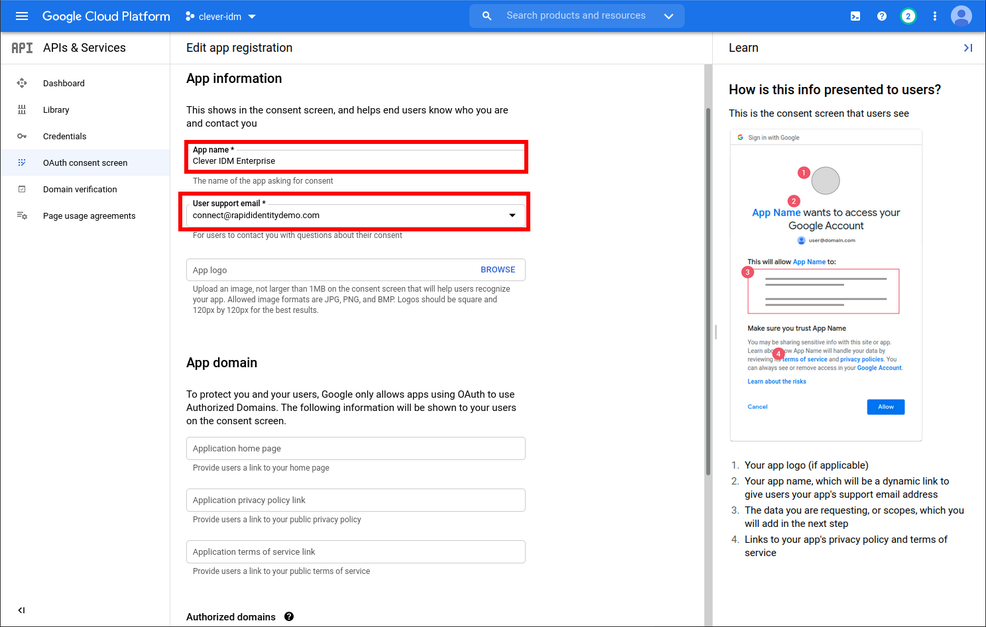
Enter an Application Name and User Support Email address.
Enter in the Developer Contact information, then click Save and Continue.
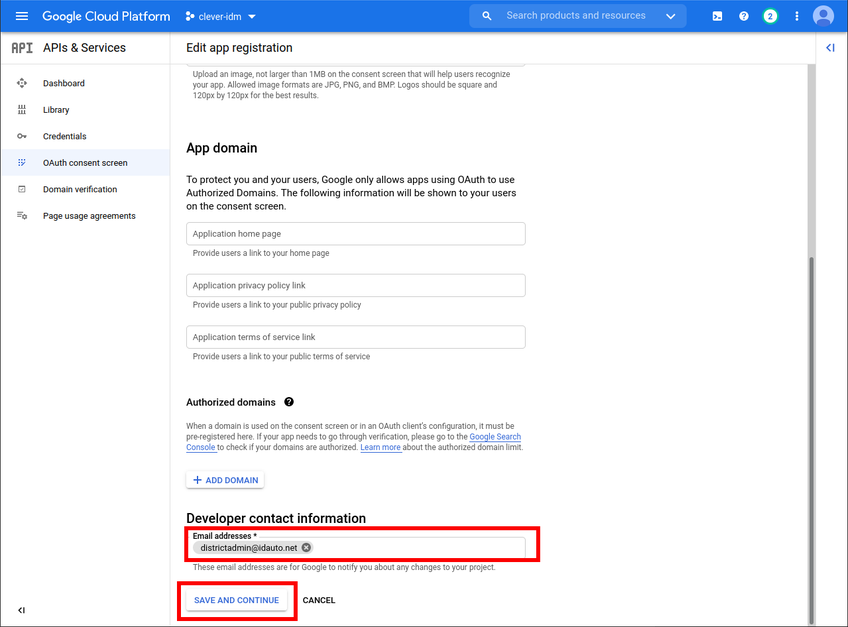
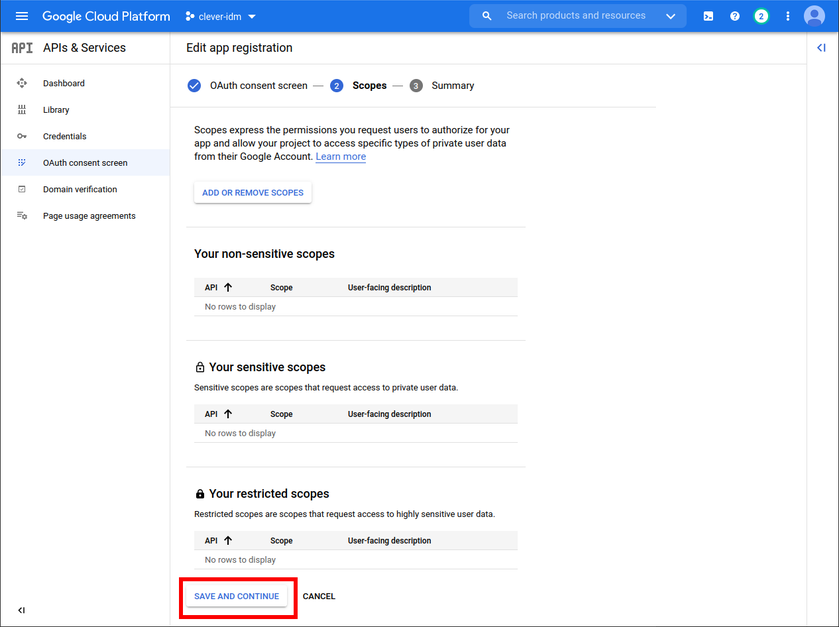
Click Save and Continue on Scopes.
Select Credentials from the left menu.

Select Create Credentials and click OAuth Client ID.

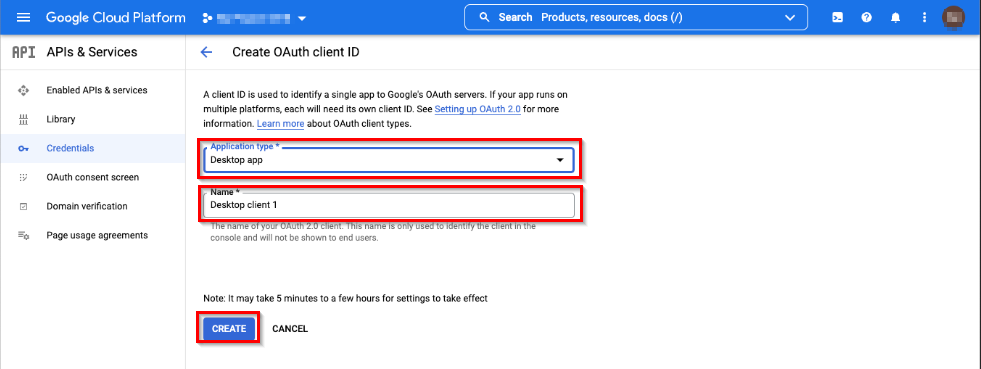
Choose Desktop App, enter a Name, and click Create.
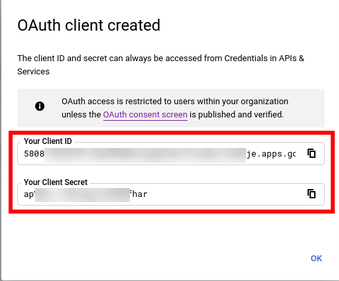
Save the Client ID and Secret, as these will be needed for Policy Configuration later.
