Google OU Placement Policies
The Google OU Placement Policies have two different policies available: Students and Employees.
Students
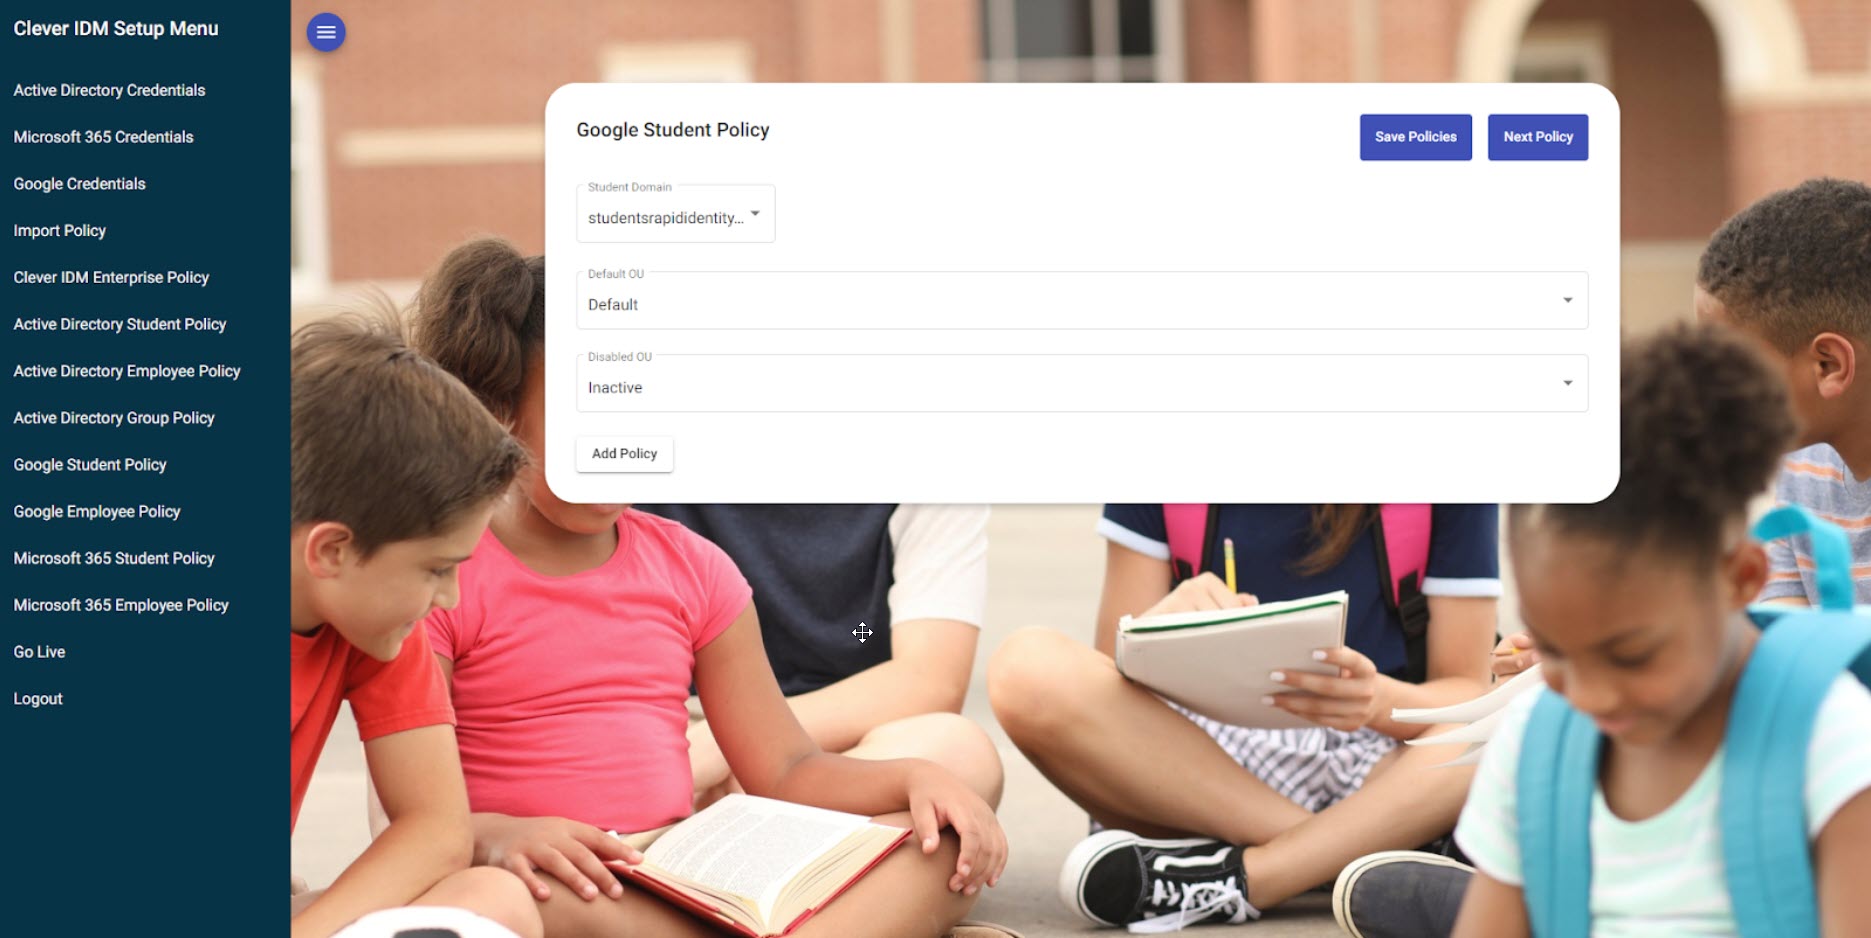 |
On the Google Student Policy configuration screen, there are three required settings.
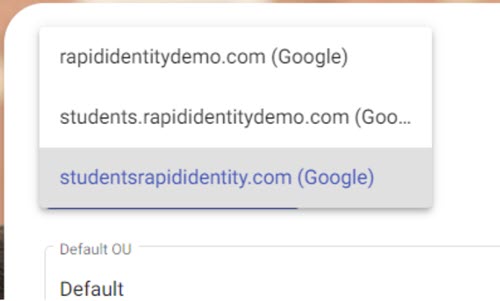
Student Domain Selection is a drop-down menu allowing users to specify the default domain suffix for the students in Google. The values in the drop-down menu are queried directly from the Google tenant.
Default OU is the Organizational Unit where accounts will be placed if they do not match any of the placement criteria defined in the policy. This can be considered a "catch-all" OU, or an "undetermined placement" OU. In the event that an administrator cannot find an account in Google, it is recommended to check if the account is in this OU, and determine why it was not placed correctly by Clever IDM Enterprise. The most likely reason for not being placed correctly is data on the identity not matching criteria in any defined policies, such as grade or campus code.
Disabled OU is the OU where accounts will be moved to upon being disabled. This is recommended so that disabled accounts can quickly be identified by administrators and cleaned up or deleted if desired.
The remaining configuration settings are where District Administrators can define granular placement policies. There is no limit on the number of policies that can be defined; however, take care to define the policies to ensure that accounts are placed logically and that there are no conflicting policies. In the event there is a conflict, the first defined policy will always be applied.
To define a policy, perform the following steps:
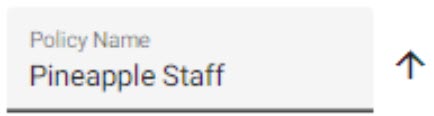
Give it a Policy Name that is descriptive of the policy so that District Administrators can understand the policy's purpose.
Select an existing OU from the dropdown.
Note
The OU list is pulled directly from the District Google Domain.
Add one or more Rules. These can be combined by using an
ANDor anORto apply criteria to placement in the OU. For example, a rule can be defined as the following for students in Pineapple Elementary School: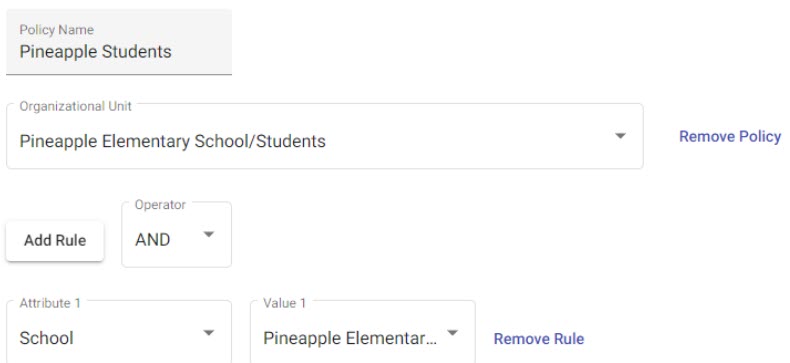
A rule's
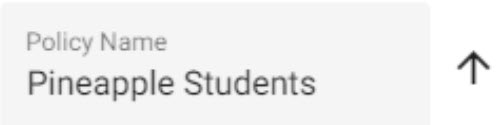
ANDpolicies can be removed by clicking on the Remove Rule or Remove Policy links.Policies can be reordered by clicking on the arrow next to the policy name.
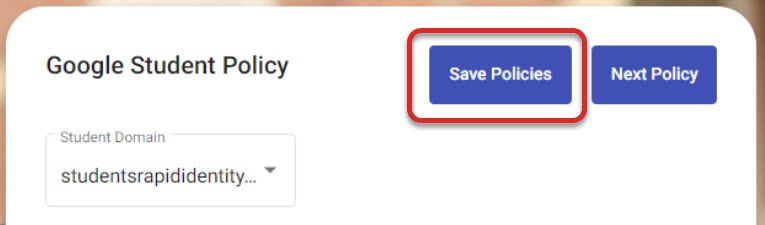
Once the policies are set, click the Save Policies button at the top of the configuration screen.
Policies can be adjusted or configured at any time, even after saving them.
Note
The system will not move forward if there are unsaved policies defined.
Employees
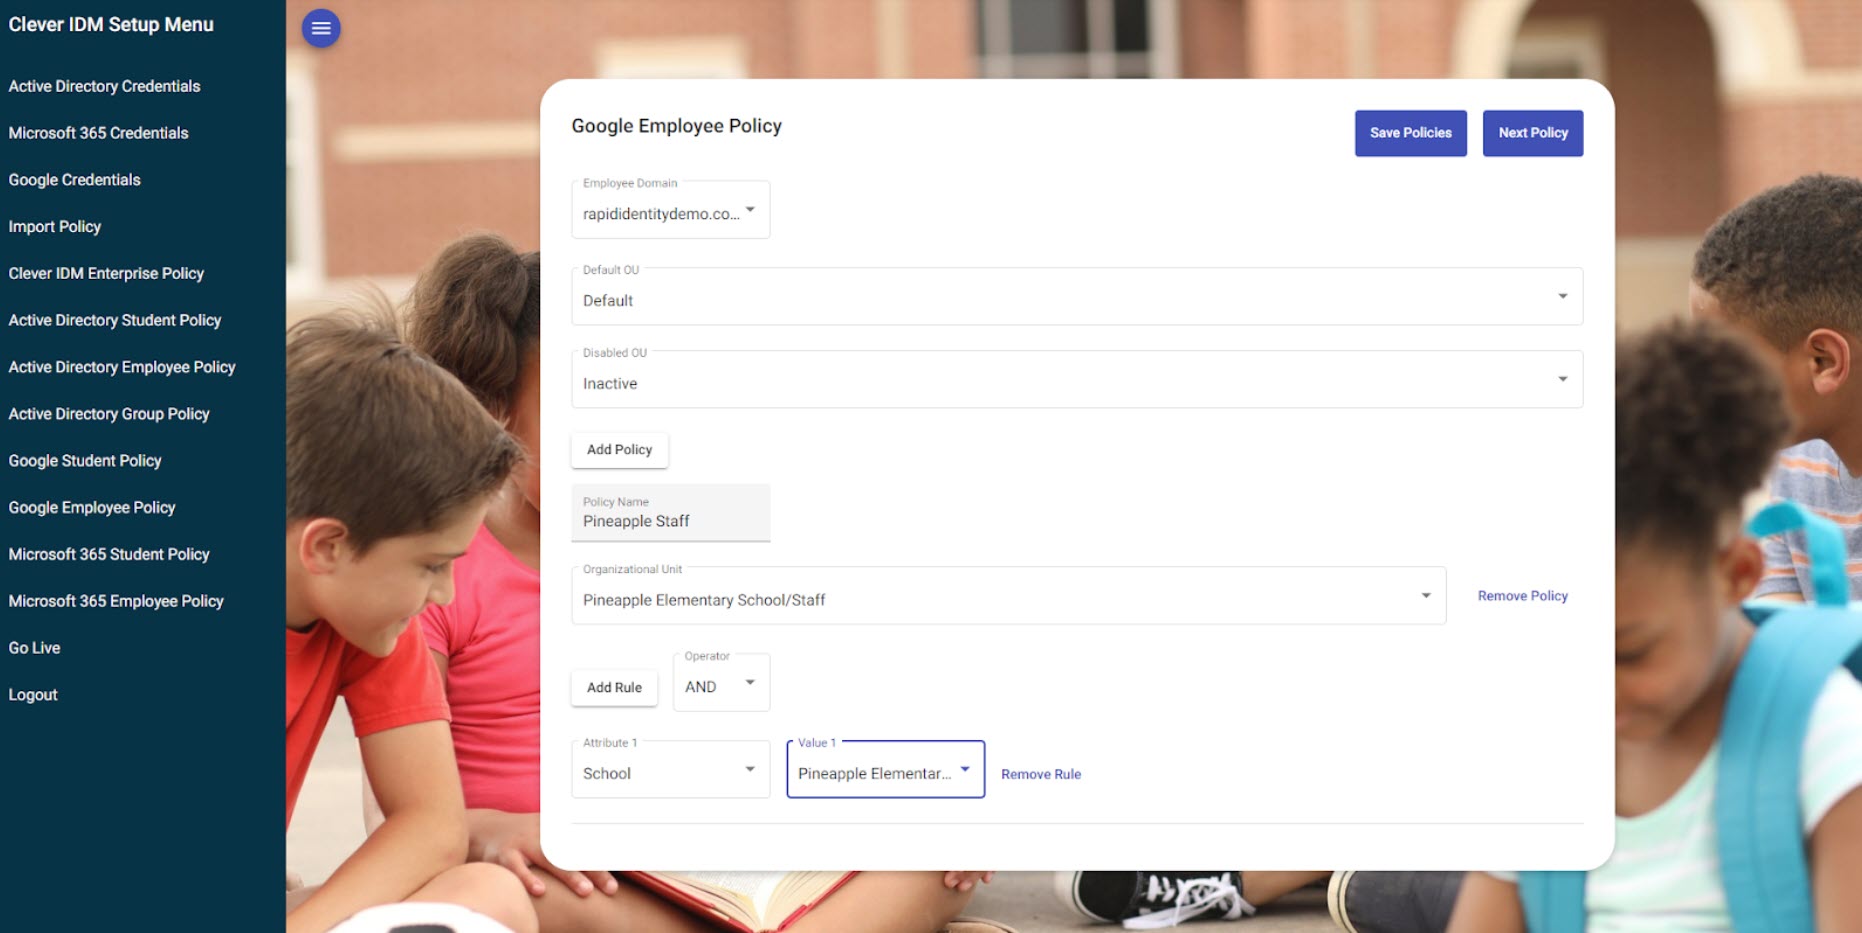 |
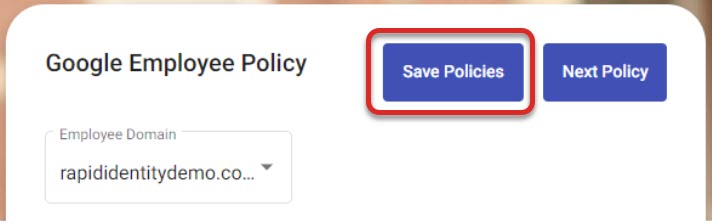
Configuration of Google Employee Policy is similar to the Student Policy. There are three required settings:
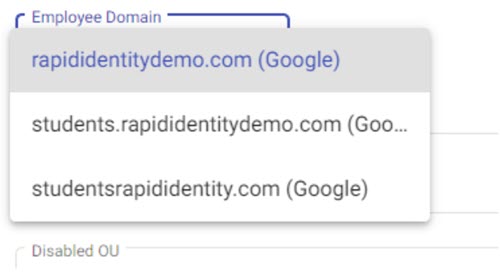
Employee Domain Selection is a drop-down menu that allows Administrators to specify the default domain suffix for the employees in Google. The values in the drop-down selector are queried directly from the Google tenant.
Default OU is the Organizational Unit where accounts will be placed if they do not match any of the placement criteria defined in the policy. This can be considered a "catch-all" OU, or an "undetermined placement" OU. In the event that an administrator cannot find an account in Google, it is recommended to check if the account is in this OU, and determine why it was not placed correctly by Clever IDM Enterprise. The most likely reason for not being placed correctly is data on the identity not matching criteria in any defined policies, such as grade or campus code.
Disabled OU is the OU where accounts will be moved to upon being disabled. This is recommended so that disabled accounts can quickly be identified by administrators and cleaned up or deleted if desired.
The remaining configuration settings are where District Administrators can define granular placement policies. There is no limit on the number of policies that can be defined; however, take care to define the policies to ensure that accounts are placed logically and that there are no conflicting policies. In the event there is a conflict, the first defined policy will always be applied.
To define a policy, perform the following steps:
Give it a Policy Name that is descriptive of the policy so that District Administrators can understand the policy's purpose.
Select an existing OU from the dropdown.
Note
The OU list is pulled directly from the District Google Domain.
Add one or more Rules. These can be combined by using an
ANDor anORto apply criteria to placement in the OU. For example, a rule can be defined as the following for teachers in Pineapple Elementary School: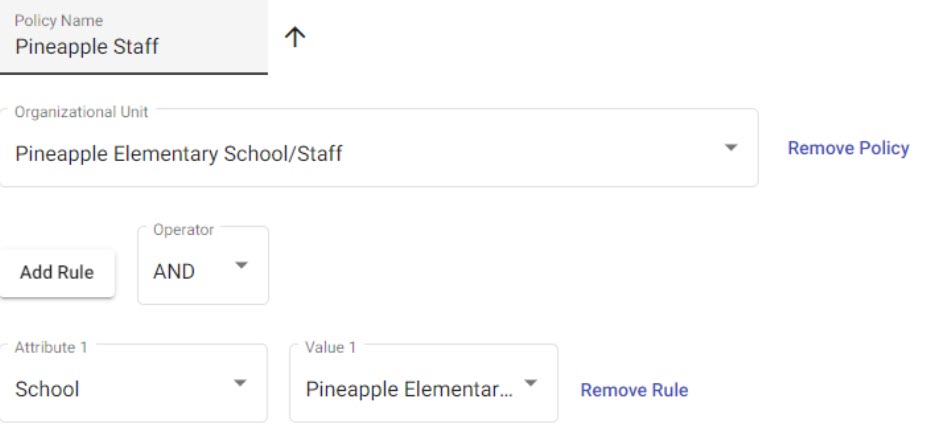
A rule's
ANDpolicies can be removed by clicking on the Remove Rule or Remove Policy links.Policies can be reordered by clicking on the arrow next to the policy name.
Once the policies are set, click the Save Policies button at the top of the configuration screen.
Policies can be adjusted or configured at any time, even after saving them.
Note
The system will not move forward if there are unsaved policies defined.