Install the Active Directory Password Filter
Follow these 5 steps to install the Active Directory Password Filter on ALL domain controllers within the Active Directory Domain:
Click Password Filter.
A new browser window/tab should open listing the .msi files.
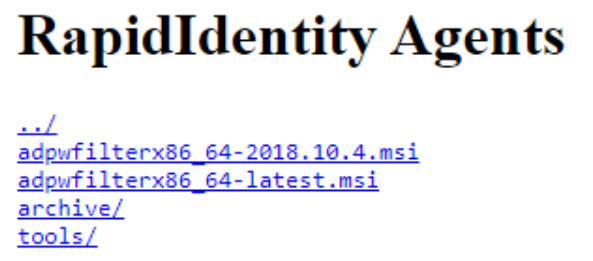
Select the latest.msi file and then copy it to the domain controller. The installer will need to be run with an account that is a member of both the Schema Admins and Domain Admins groups in Active Directory.
Using an administrator account or an account with sufficient permissions to install software on the domain controller, log in to a desktop session of the domain controller and launch the .msi file downloaded in Step 2. Select the installation folder and click Next.
Click Next to confirm installation and Close to exit the installer. Click Yes to reboot.
Note
If the domain controller is not rebooted at the time of installation, the password filter will not become active until the domain controller has been restarted.
If this is the first password filter installation within the Active Directory Forest, Step 5 is necessary to configure the filter.
Click Install Schema. This step only needs to be performed once per Active Directory Forest.
Click Install RapidIdentity Public Key and then click OK. This step only needs to be performed once per Active Directory Forest.
Note
Enter your district's Clever IDM Enterprise tenant URL (e.g., https://yourdistrict.rapididentity.com) and click OK. When this completes, you should see a notification that RapidIdentity Public Key has been installed.
Enter the URL of the RapidIdentity Connect server. Only enter a port number if a custom port has been configured on the RapidIdentity Connect server. Click OK.
A dialog box appears once the key is installed. Click OK.
The main configuration window appears upon successful installation. The Install RapidIdentity Connect Public Key button is now Remove RapidIdentity Connect Public Key.
Once the installer is closed, you will receive a message to restart your system for the changes to take effect. Restart as soon as reasonably possible.
Run the installer on each domain controller. On subsequent domain controllers, Install Schema will be greyed out because it has already been installed.