Identity Bridge
The Identity Bridge is an easy-to-install, lightweight utility that runs in the customer environment, and is designed to allow secure communications between an on-premise Active Directory domain and the Clever IDM Enterprise solution. This utility runs on a Windows server as a service and only requires that TCP Port 443 be opened outbound to talk to the Clever IDM Enterprise customer tenant.
Important
When creating a bridge per the steps below, the bridge will need to map TCP port 636 (LDAPS) to a domain controller for secure communication between the on-premise Active Directory and the Clever IDM Enterprise customer tenant. Follow Step 4 of the Microsoft documentation for troubleshooting Active Directory over SSL to verify that the domain controller allows connections on port 636.
Note
To complete this setup, you will need to be able to install an executable onto a Windows server. This server should be running at all times, and not scheduled for shutdown on a regular schedule. The Identity Bridge will run as a Windows service and will start automatically whenever the host is restarted.
Overview
Installing the Identity Bridge occurs in three short stages:
Enter General Settings in the Clever IDM Enterprise Identity Bridge Configuration page. This stage creates a Registration Code that is used to link the locally installed agent with the Cloud Tenant.
Install the agent on a Windows Server inside the District's local domain. This agent will be given the Registration Code so that it will be able to communicate with the District's tenant.
Note
We recommend that this be installed on a Windows Server that is separate from your Active Directory Domain Controllers.
Note the System Requirements to meet on this Windows Server.
Create the bridge inside the Clever IDM Enterprise Configuration page. This part establishes the settings to specifically allow the Tenant to communicate with Active Directory.
System Requirements
To install and run the Identity Bridge agent on a Windows server, you must have the following specifications available:
System Element | Requirement |
|---|---|
CPU | 1.4GHz |
Memory | 2GB |
HDD | 10GB |
Network | 10Mbps (Tested down to 1Mbps) |
OS | Windows Server 2012 or higher |
Configure the Identity Bridge Agent Settings in Clever IDM Enterprise
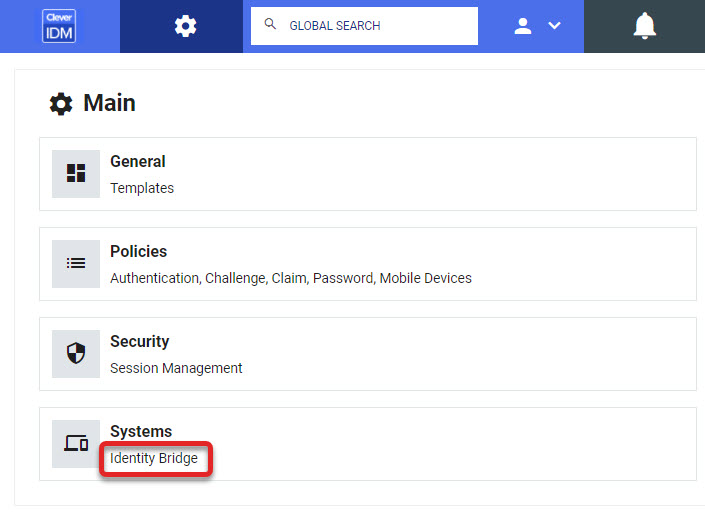
From the Configuration module, select Identity Bridge from the Systems menu.
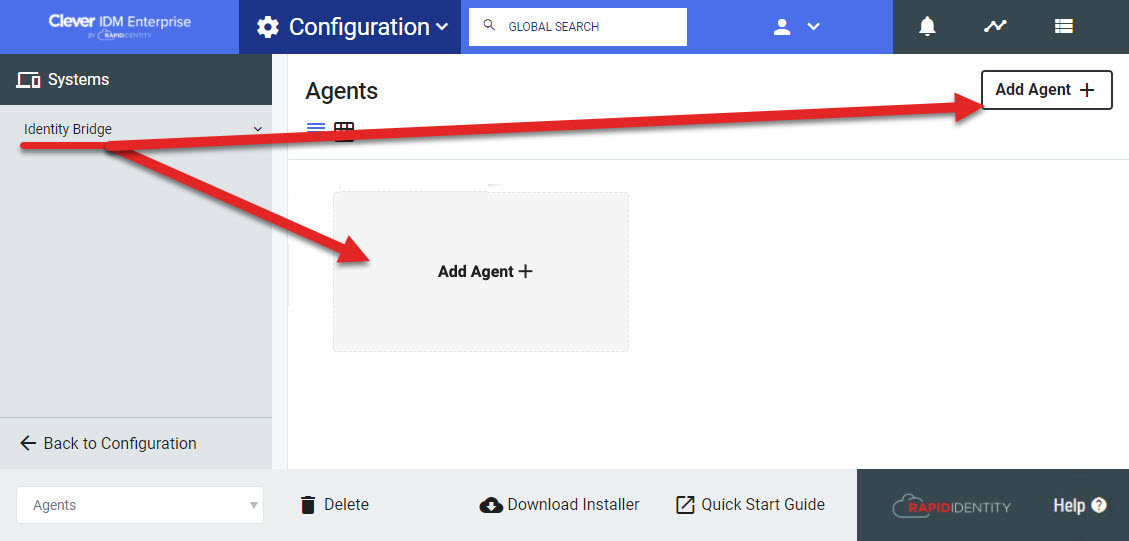
Click Add Agent+ either in the workspace or the upper right-hand action button.
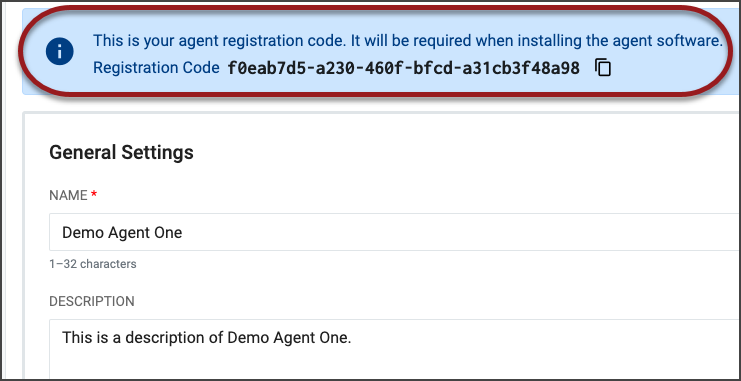
In the General Settings section, enter a Name and Description for the bridge.
Note
Select Enable Proxy to allow the configuration of the internet proxy connections if required by the local system service to connect to the internet.
Click Save.
Copy the Registration Code that appears in the information box at the top of the General Settings screen.
Important
This code is required when installing the agent software. Ensure it is not lost between this step and the next.
Install the Identity Bridge Agent Service on the Local Server
Note
No inbound ports are required to be opened for the Identity Bridge agent installed on-premises. The only outbound port that needs to be allowed through firewalls for the agent is TCP 443.
From the Configuration module, select Identity Bridge from the Systems menu.
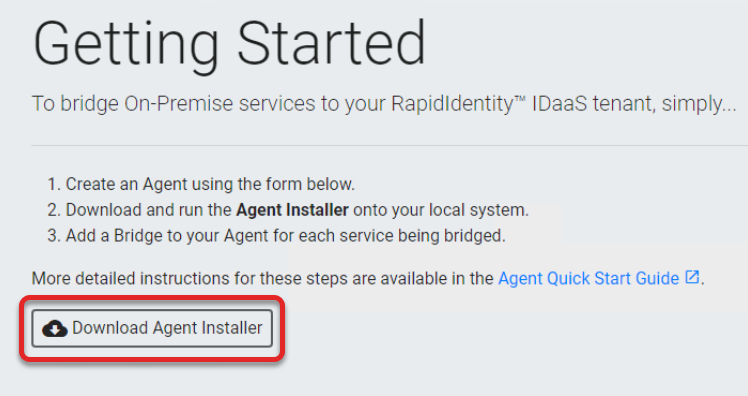
Click Download Installer from the action buttons at the bottom of the screen to download the Clever IDM Enterprise Identity Bridge Agent to your local server. This is also available from the Download Agent Installer button in the Getting Started header.
Note
This can also be downloaded in the Agent Creation menu once all required fields have been populated.

Locate the download on the local server and run IdentityBridgeAgent.exe.
Note
The installer needs to be installed on a server in the district's local network.
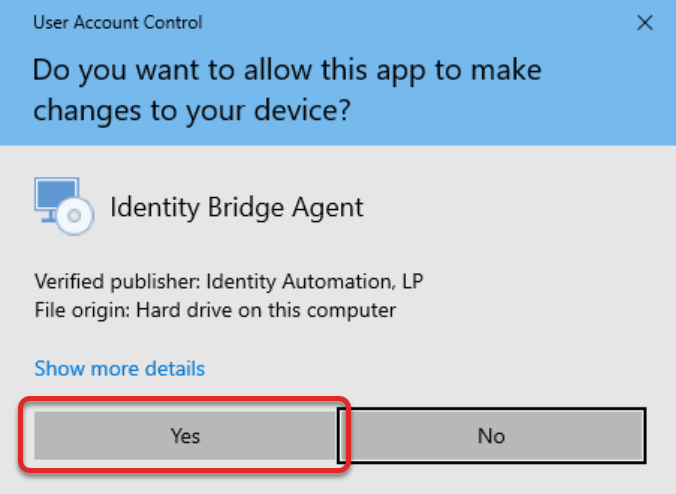
If asked "Do you want to allow this app to make changes to your device?" click Yes.
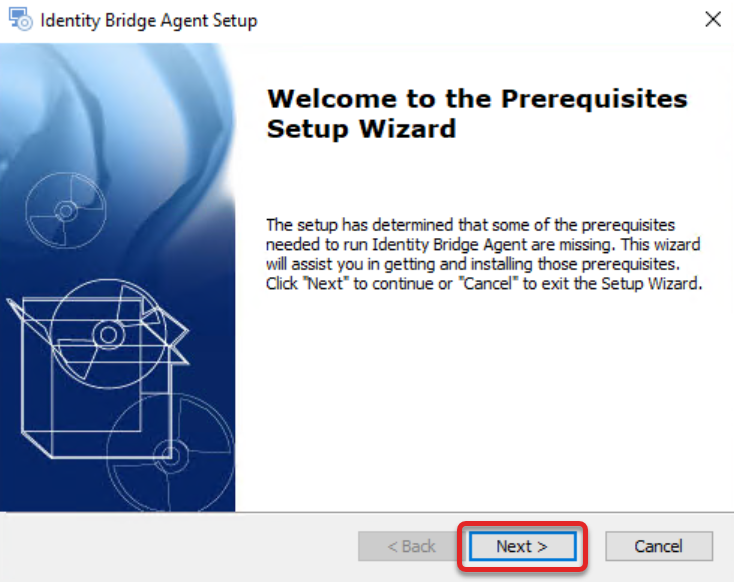
When the installer starts, click Next.
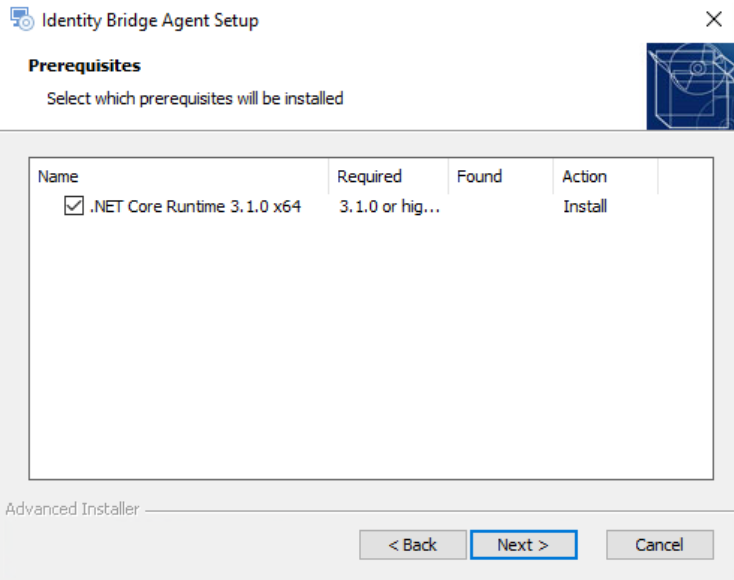
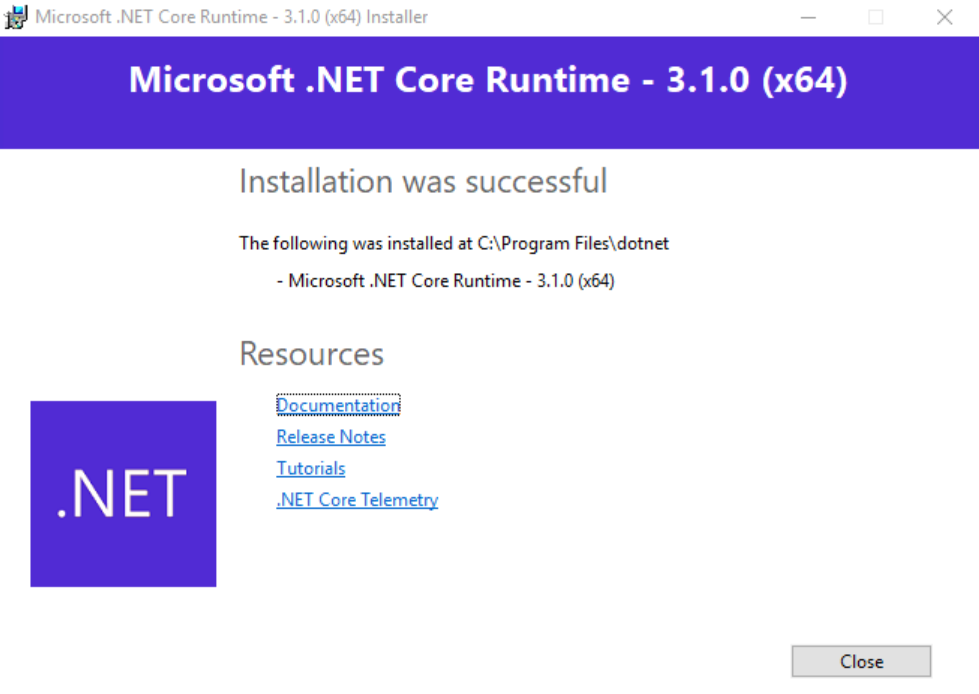
ASP.Net Core 3 is required for the Agent program. If ASP.Net Core 3 is not already installed, the agent installer will install it.
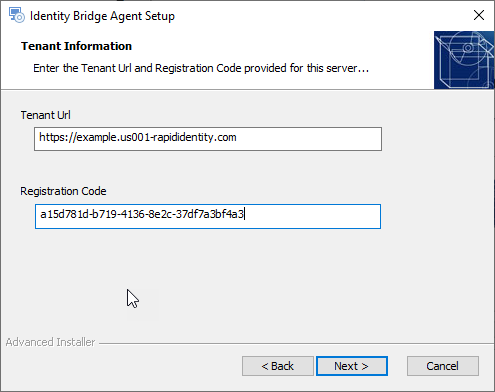
After going through this series of steps, enter the Tenant URL and Registration Code. The Registration Code will match the code provided in Step 5 of the "Configure the Identity Bridge Agent Settings in Clever IDM Enterprise" section.
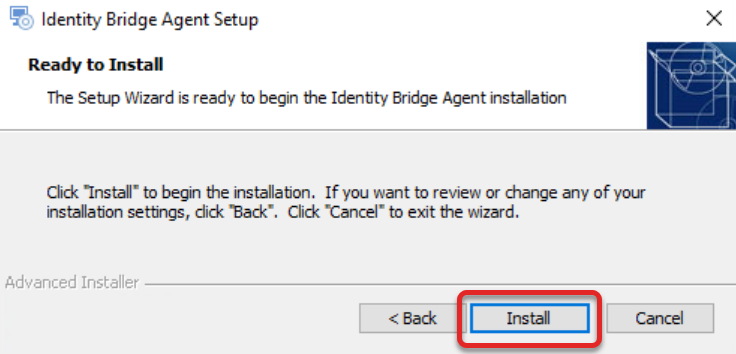
Click Install to finish the installer. A black console window may pop up after clicking Install.
Click Finish.
Note
The connection should now be established with the Clever IDM Enterprise Identity Bridge Agent.
Return to the Identity Bridge section in the Configuration Module. The newly added Agent tile in the workspace will display the connection status.

If a "Heartbeat" status was returned, the connection is successful.
Create a Bridge in Clever IDM Enterprise to Provide Access to an On-Premise Resource
From the Configuration module, select Identity Bridge from the Systems menu.
Click Details from the recently added agent tile.
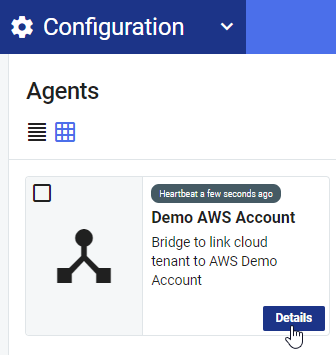
In the Agent Details, scroll down to the Bridges section. After the Agent has been successfully installed, the option to Add Bridge is now available.
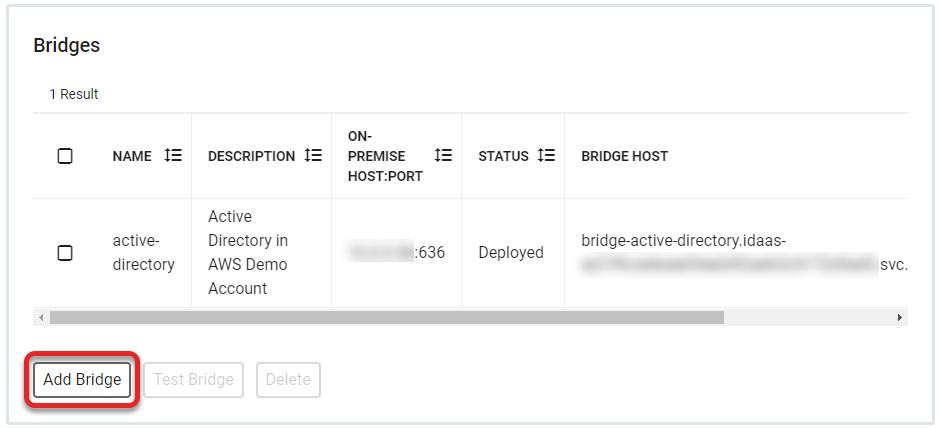
Click Add Bridge and enter the Name, On-Premise Host/IP address, and On-Premise Port information in the Add Bridge details.
Note
Name the bridge
activedirectory. When creating this bridge, also note that Clever IDM Enterprise uses port 636 to communicate with Active Directory.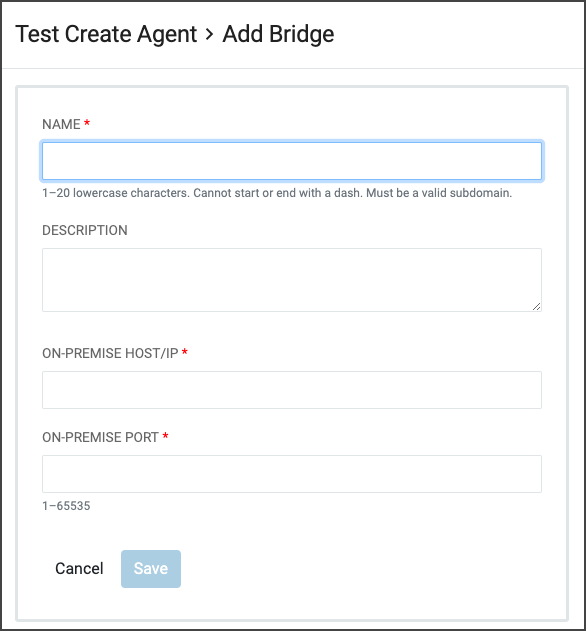
The On-Premise Host IP address is the IP Address that is used for the on-premise/host IP domain controller. The On-Premise port is 636.
Click Save.
The ability to test or delete the bridge will become available after the bridge is successfully deployed. There are several available statuses:
Deploying: Initial status when the bridge is first saved
Deployed: The status after the bridge is successfully deployed
Destroying: The status while the bridge is being removed from the list
After the bridge has been successfully deployed, select the bridge from the Bridges list and click Test Bridge.
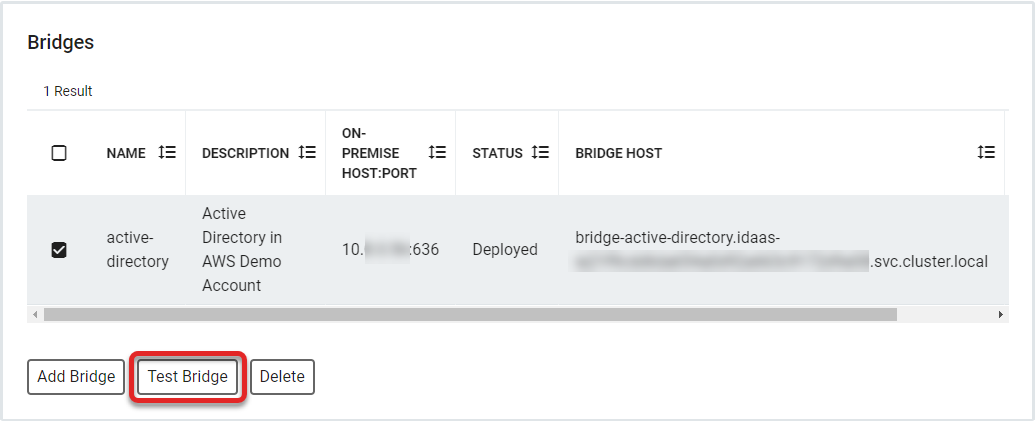
The successfully created bridge will register the configuration information in the Test window.